Doctor is a tool that you can use to write your documentation in markdown and push it to your SharePoint. That way, you have one location to use and share the documentation in your company. In this article, I want to tell you more about how you can set up GitHub Actions to do automated documentation deployments.
InfoI will use the doctor sample as the blueprint for this article.
The credentials
Right now, Doctor supports three types of authentications:
- Certificate authentication
- Username and password
- Device code
In GitHub Actions, you can only make use of the first two. Technically, the third is also a possibility, but in that case, it will not run fully automated.
Both of the options require similar steps. For certificate authentication, you will need to do some configuration first.
ImportantThings to do before you can use certificate authentication: prerequisites for certificate authentication.
Creating the workflow
In the project where you want to add the documentation, create the following directories: .github/workflows.

In the workflows folder, add a file named publish.yml (you can give it another name as well if you want). The file contents look as follows:
| |
As you can see, there is not a lot required to publish your documentation on SharePoint. The workflow automatically starts when you push your code to either the dev or main branch.
The workflow run task checks if the flow is running for the main branch. If that is the case, it will set some extra flags to specify to first do a clean-up on the site before publishing. Otherwise, it will just do page updates and not remove any pages.
ImportantIf you want to make use of
certificateauthentication, you will need to--authargument tocertificate, remove the--username [username]argument, and add the--certificateBase64Encoded [certificateBase64Encoded]base64 string you created in the prerequisites for security authentication.
Configuring the secrets
Once you have the workflow in your project, go to GitHub to configure the secrets to use in the GitHub Action.
You do this by going to your project on GitHub:
- Click on Settings of your project
- Click on Secrets
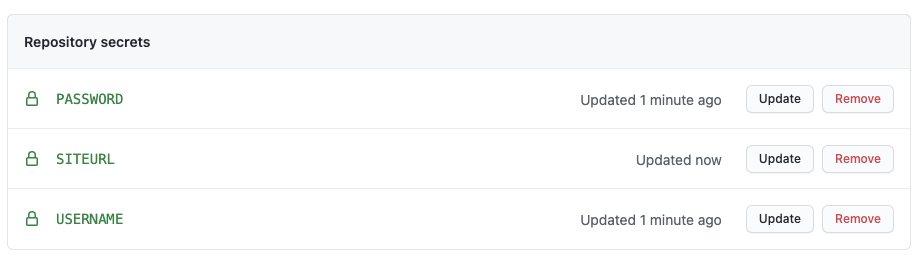
- Add for using
passwordauthentication, you need theUSERNAME,PASSWORD, andSITEURLsecrets.
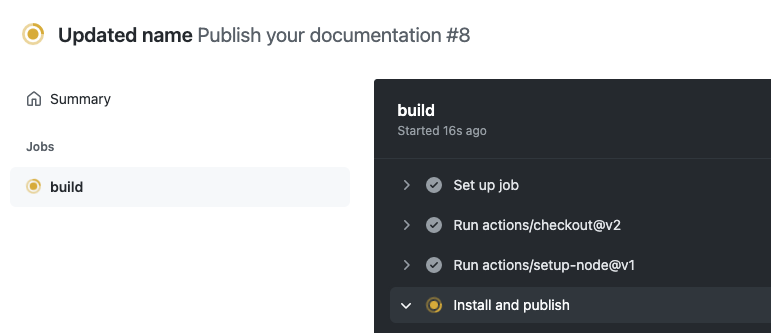
Running your GitHub Actions workflow
Suppose the workflow and its secrets are in place. It is time to push your code. Once you did that, the Github Actions workflow will automatically start.
Happy documenting