Selecting Data With XSLT: SPSBE Part 1
This post is over a year old, some of this information may be out of date.
On the SharePoint Saturday Belgium I gave an introduction presentation about XSLT (Slides). In the following blog post series, consisting of three parts, I will step by step explain my given demos.
Selecting Data With XSLT
The first demo that I gave was about selecting data with XSLT. The best way to start with this is to create an empty web part page and use a Data View Web Part.
Step 1
Open your site in SharePoint Designer and create a new web part page.
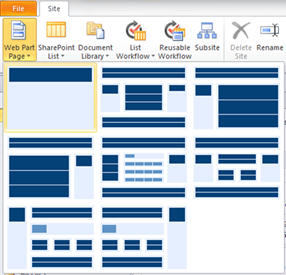
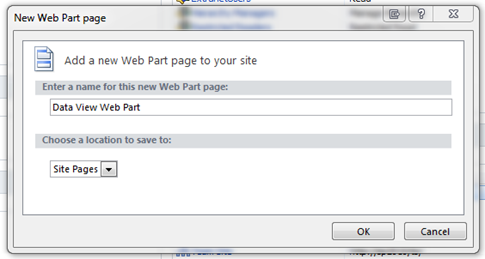
Give your page a meaningful name:
Step 2
Click inside the PlaceHolderMain (Custom) and on the Insert ribbon, click **Data View **-> Empty Data View.
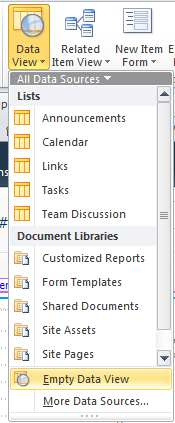
The reason why I always choose for an empty data view web part, is because you can choose for yourself which data you want to show. Otherwise the data view web part will show the default view.
Step 3
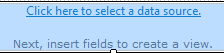
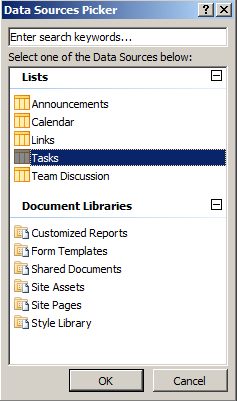
When you added an empty data view web part, click on the Click here to select a data source link.
Select your task list in the Data Sources Picker screen and click OK.** **
Step 4
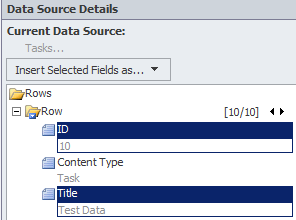
When you selected the data source, it will be visible at the right side under Data Source Details.
Select the ID and Title field.
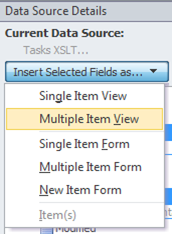
Click **Insert Selected Fields as … **-> Multiple Item View.
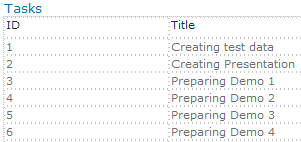
Your columns should now be visible in the Data View Web Part.
Right now SharePoint Designer generated the XSLT stylesheet for you, but you can also add columns yourself.
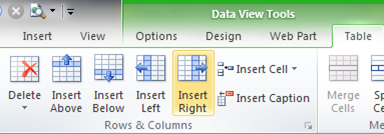
Step 5
Create a new table cell at the right side.
Click inside the new table cell, and click at the bottom on Code. This will bring you to the code line of the selected cell.
Step 6
Remove the <xsl
xmlns=“http://schemas.microsoft.com/WebParts/v2/DataView/runtime” ddwrt=“yes” disable-output-escaping=“yes”> </xsl> string. This is automatically inserted by SharePoint Designer to put a space in the cell.Step 7
Write <xsl
select=” and you will see that SharePoint Designer automatically gives you a list of the available columns in the data source.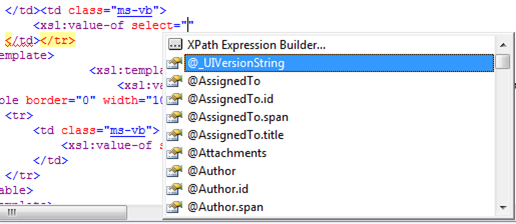
Select @Priority and close the element with ”/>”.
**<xsl
select=“@Priority” /> **This will have the following result:
Step 8
The last step in this demo was to remove the numbers before the priority. To remove this we need to get the value behind the closing bracket + space ”) ”.
To do this you could use a XSLT function called substring-after.
Remove the select attribute and re-add it again and choose XPath Expression Builder. This will open a new window where you can see all the columns and XSLT functions.
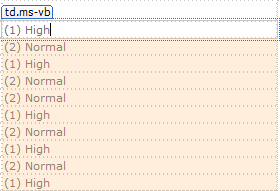
In the XPath Expression Builder start typing the following: substring-after(@Priority, ’) ’)
The result is shown at the bottom:

Click OK and save your page. This will give you the following end result.

Part 2
In the next part I will explain my second demo about using XSLT statements.
Related articles
Using XSLT Statements: SPSBE Part 2
Creating a Twitter Data View Web Part: SPSBE Part 3
Use Fiddler In Combination With SharePoint Designer to Retrieve Data Source Information
Report issues or make changes on GitHub
Found a typo or issue in this article? Visit the GitHub repository to make changes or submit a bug report.
Comments

Let's build together
Manage content in VS Code
Present from VS Code
Engage with your audience throughout the event lifecycle