Calling the GitHub GraphQL API from an app
This post is over a year old, some of this information may be out of date.
For a migration from Disqus over to GitHub Discussions, I created a script that processes all comments and replies. One thing I noticed is that I quickly reached the rate limit with my personal access token, which prevents me from using GitHub for a while.
I decided to use a GitHub App to overcome the issue of locking out my account. That way, when the app reaches the rate limit, I can still use GitHub. Although, one thing I just learned was that you need to get the installation token to call the GraphQL API.
In this article, I’ll explain how you can call the GraphQL API from a GitHub App.
App creation
The GitHub Apps page is where you create a new GitHub App.
For calling the GraphQL API, you need to specify the name, and URL, turn off the webhook functionality and provide the required permissions.
Once you have created the app, you can generate a client secret and copy it as you need later.
Generate a new private key and keep the *.pem file safe.
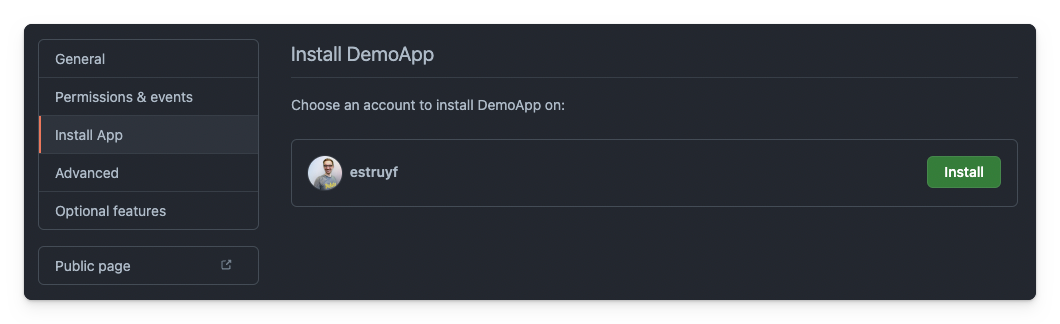
App installation
On the install app page, install the app to all or the repositories of your choice.
Get an access token
As mentioned, to call the GraphQL API, you must get an installation token. The retrieval of the token comes in two steps:
- Authenticate the GitHub App to get a JWT token;
- Use the JWT token to retrieve the installation ID;
- Use the JWT token to retrieve the installation’ access token.
To get the JWT token, you will need the GitHub app ID, client ID, client secret, and private key. To simplify the code, you can use @octokit/auth-app.
import { createAppAuth } from "@octokit/auth-app";import { readFileSync } from "fs";
const auth = createAppAuth({ appId, privateKey: readFileSync(join(__dirname, "../../", privateKeyFile), "utf8"), clientId, clientSecret});
// Retrieve JSON Web Token (JWT) to authenticate as appconst appAuthentication = await auth({ type: "app" });
if (!appAuthentication.token) { throw new Error("Could not retrieve JWT token");}
const installationResponse = await fetch("https://api.github.com/app/installations", { method: 'GET', headers: { Authorization: `Bearer ${appAuthentication.token}` }});
if (!installationResponse.ok) { throw new Error(`HTTP error! status: ${installationResponse.status}`);}
const installations = await installationResponse.json();// Get the installation you are interested in (in my case only the first one)const installationId = installations[0].id;
// Get installation access tokenconst installationAuthentication = await auth({ type: "installation", installationId,});
if (!installationAuthentication.token) { throw new Error("Could not retrieve installation token");}Once you have the installation’s access token, you can call the GraphQL API.
const response = await fetch("https://api.github.com/graphql", { method: 'POST', headers: { Authorization: `Bearer ${installationAuthentication.token}` }, body: JSON.stringify({ query: ` query { ... } ` }),}).then((r) => r.json());Related articles
#DevHack: Fetching sponsors via the GitHub GraphQL API
In this article Elio explains how you can retrieve your sponsors for your open-source projects via the GitHub GraphQL API.
Sample Node.js SharePoint webhook application released
Conditional publish packages to NPM via GitHub actions
Report issues or make changes on GitHub
Found a typo or issue in this article? Visit the GitHub repository to make changes or submit a bug report.
Comments

Let's build together
Manage content in VS Code
Present from VS Code
Engage with your audience throughout the event lifecycle