Using XSLT Statements: SPSBE Part 2
This post is over a year old, some of this information may be out of date.
This post explains the second demo that I showed at my SharePoint Saturday Belgium presentation.
The second demo was about XSLT statements. XSLT statements are used to put a conditional test against the data source you are using.
For example:
If my value is equal to “deferred” than show or do this.
In my demo I used this to change the background color or the table row based on the task status value:
- Completed: Green;
- Deferred: Red;
- In Progress: Gray. {{< caption-new “/uploads/2012/05/051812_0651_UsingXSLTSt1.png” “End Result” “data/jpeg;base64,iVBORw0KGgoAAAANSUhEUgAAAAoAAAADCAIAAAAlXwkiAAAACXBIWXMAAA7EAAAOxAGVKw4bAAAAWElEQVR4nAXByxJAMAwF0P7/v1lbeEzpFE3cVJNisHGOIwVjBaIYmIPYTgdRYTlzks0ZFpm70jYWR/VtTdO+eA6DUkhz7+pnR9kqwvkWy/F6cr4ATXqLGP/941LO7m/mPQAAAABJRU5ErkJggg==” “539” “166” >}}
The best way to start with XSLT statements is with creating a new list view and adding conditional formatting to it.
XSLT Statements
Step 1
Open your site in SharePoint Designer and go to List and Libraries and click on your task list.
On the Views section click the New button, and give your list view a meaningful name.
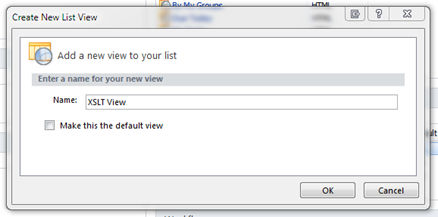
Click OK, and open the newly created view.
Step 2
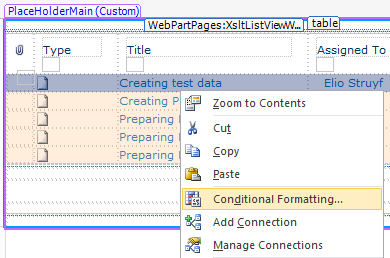
Select the whole row, do a right-click, and click on Conditional Formatting.
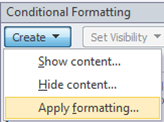
At the right side the Conditional Formatting panel will open. Click on Create -> Apply formatting.
Set your condition as follows:
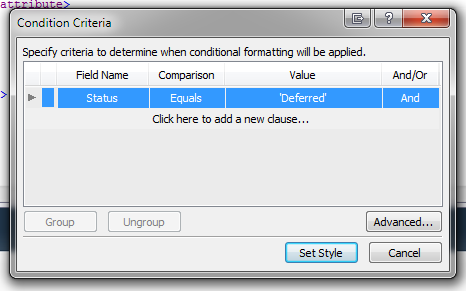
Click Set Style, and in the background section add #FFCFD1 as the background-color value.
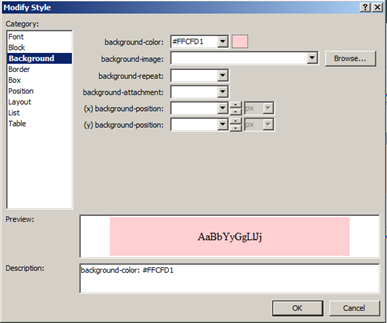
Click Ok.
Step 3
If you switch to the code view and do a search for Deferred you should see the following code:
<xsl:if test="normalize-space($thisNode/@Status) = 'Deferred'" ddwrt:cf_explicit="1">background-color: #FFCFD1;</xsl:if>To add the other background colors to the rows, you can add the following lines to the code:
<xsl:if test="@Status = 'Completed'">background-color: #DFFFDF;</xsl:if><xsl:if test="@Status = 'In Progress'">background-color: #DFDFDF;</xsl:if>Step 4
When you are using a lot of IF statements for the same column, you can use the choose statement.
In the choose statement you can express multiple tests to your column.
The IF statements can be easily changed to a CHOOSE statement. It will look like this:
<xsl:choose> <xsl:when test="@Status='Deferred'"> background-color: #FFCFD1; </xsl:when> <xsl:when test="@Status='Completed'"> background-color: #DFFFDF; </xsl:when> <xsl:when test="@Status='In Progress'"> background-color: #DFDFDF; </xsl:when> <xsl:otherwise> background-color: transparent; </xsl:otherwise></xsl:choose>Notice the otherwise element, this will be used when none of your tests met the condition.
Part 3
In part 3 I will explain you how to re-create the Twitter web part that I created during my presentation.
Related articles
Creating a Twitter Data View Web Part: SPSBE Part 3
Selecting Data With XSLT: SPSBE Part 1
Use Fiddler In Combination With SharePoint Designer to Retrieve Data Source Information
Report issues or make changes on GitHub
Found a typo or issue in this article? Visit the GitHub repository to make changes or submit a bug report.
Comments

Let's build together
Manage content in VS Code
Present from VS Code
Engage with your audience throughout the event lifecycle