Speed up SharePoint Framework builds with WSL 2
This post is over a year old, some of this information may be out of date.
SharePoint Framework builds very fast on new projects, but once you start adding more components or functionality, the builds quickly get slower. In our codebase, we tried to split up projects as much as possible, so that fewer components need to be built during your development cycle. As much as it helps with some projects, we still have two slow projects. The build run for both projects is ~1 minute on my Macbook (without any optimization). My colleagues even see worse timings on their Windows devices.
As we do not want to wait 1-2 minutes before we can verify and test out the changes, we were looking for some ways to improve the build process. Luckily, there are a couple of people actively looking at how the build process can be improved. For example, today, Sergei Sergeev wrote an interesting article about this matter.
Related article: SPFx overclockers or how to significantly improve your SharePoint Framework build performance by Sergei Sergeev.
I recommend reading this article, as it provides a couple of exciting performance improvements. Currently, I configured number 3 and 4 in our projects which for us improved the builds with 10-15 seconds. Not yet spectacular, but every small bit counts. The other improvements are also nice, but for now we keep it with these two as they do not significantly change the build tasks.
Info: Be careful with using the hard-source-webpack-plugin webpack plugin. In a couple of our projects, we used the plugin for a couple of weeks but experienced some issues with it. In some cases the cache got corrupt, or the plugin does not see files that changed and provided them from the cache instead. The solution to fix those builds issues was to manually clear the plugin its cache folder located under:
node_modules/.cache. As this occurred with many of our developers, we stopped using it.
Using Windows Subsystem for Linux (WSL)
A long time ago, I tested out WSL for checking if it would optimize the build times for SPFx, but it did not. In the test that I did back then, it was even slower. The reason for this was that it used the Windows file system.
WSL 2 is changing this significantly. In this version of WSL, you can make use of the Linux file system itself and makes it much faster during git clones, npm installations, and builds. For instance, the npm install on our mono-repo takes 10-15 minutes on Windows (8 projects) and on WSL 2 it is reduced to 3 minutes.
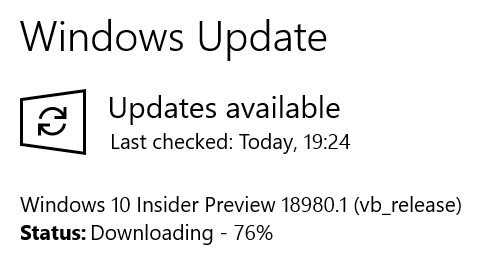
Important: You can at the moment only use WSL 2 when you run a Windows insiders build. More information on this: WSL 2 is now available in Windows Insiders.
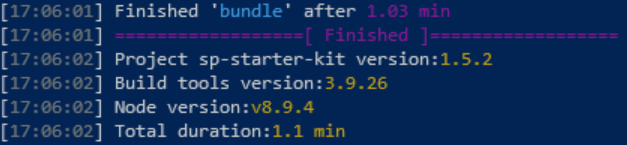
Now we are talking about build timings. Let us take two benchmarks from my PnP Starter Kit Windows builds.
Before the performance optimization from Sergei:
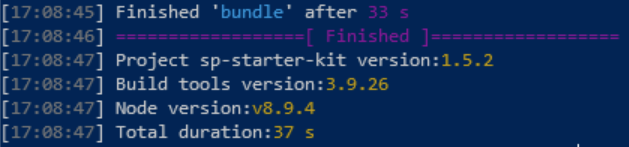
After the performance optimization (3. source-map-loader optimizations and 4. css-loader optimizations) from Sergei:
Installing the insiders build
Follow these instructions: Installation Instructions for WSL 2.
Once you have executed these steps, you can install the Linux distro of your choice from the Windows Store. I went for Ubuntu 18.04. On Ubuntu I installed NVM via the following commands:
curl -o- https://raw.githubusercontent.com/creationix/nvm/v0.34.0/install.sh | bashOnce NVM is installed on your machine, run the following command to get it set up for bash:
export NVM_DIR="$HOME/.nvm"[ -s "$NVM_DIR/nvm.sh" ] && \. "$NVM_DIR/nvm.sh" # This loads nvm[ -s "$NVM_DIR/bash_completion" ] && \. "$NVM_DIR/bash_completion" # This loads nvm bash_completionInfo: You could run into an issue that NVM does not want to install or that npm cannot install dependencies. Most likely this is because you already have node and npm installed on Windows. In order to fix this, you can overwrite the
$PATHin your WSL by running:export PATH=/usr/local/sbin:/usr/local/bin:/usr/sbin:/usr/bin:/sbin:/bash_completion.
Install the Node version of your choice. I went for Node v8.9.4, by running nvm install 8.9.4. Once this is completed, you are ready to start developing.
Important: By default, WSL will open on your current profile folder, and will use the Windows file system. In order to gain performance, you need to switch to the Linux file system and to do this. You just run
cd ~.
Once on the Linux home directory, you can recreate/copy your projects here (you can use explorer.exe . to open an Explorer window from the Linux file system (this is so cool).
Running tests
I cloned the PnP Starter Kit project on the Linux file system, and these are the results:
Before the performance optimization from Sergei:
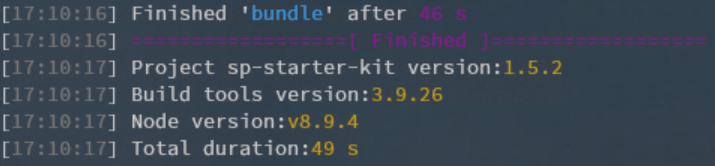
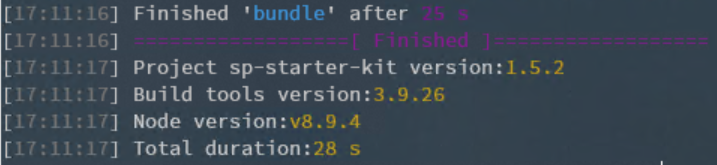
After the performance optimization (3. source-map-loader optimizations and 4. css-loader optimizations) from Sergei:
This is a great improvement!
| Test | Timing |
|---|---|
| Windows without improvements | 1.1min. |
| Windows with improvements | 37sec. |
| WSL 2 without improvements | 49sec. |
| WSL 2 with improvements | 28sec. |
| macOS without improvements | 50sec. |
| macOS with improvements | 29sec. |
Info: WSL 2 in this case is comparable to builds running on my Macbook.
What with localhost?
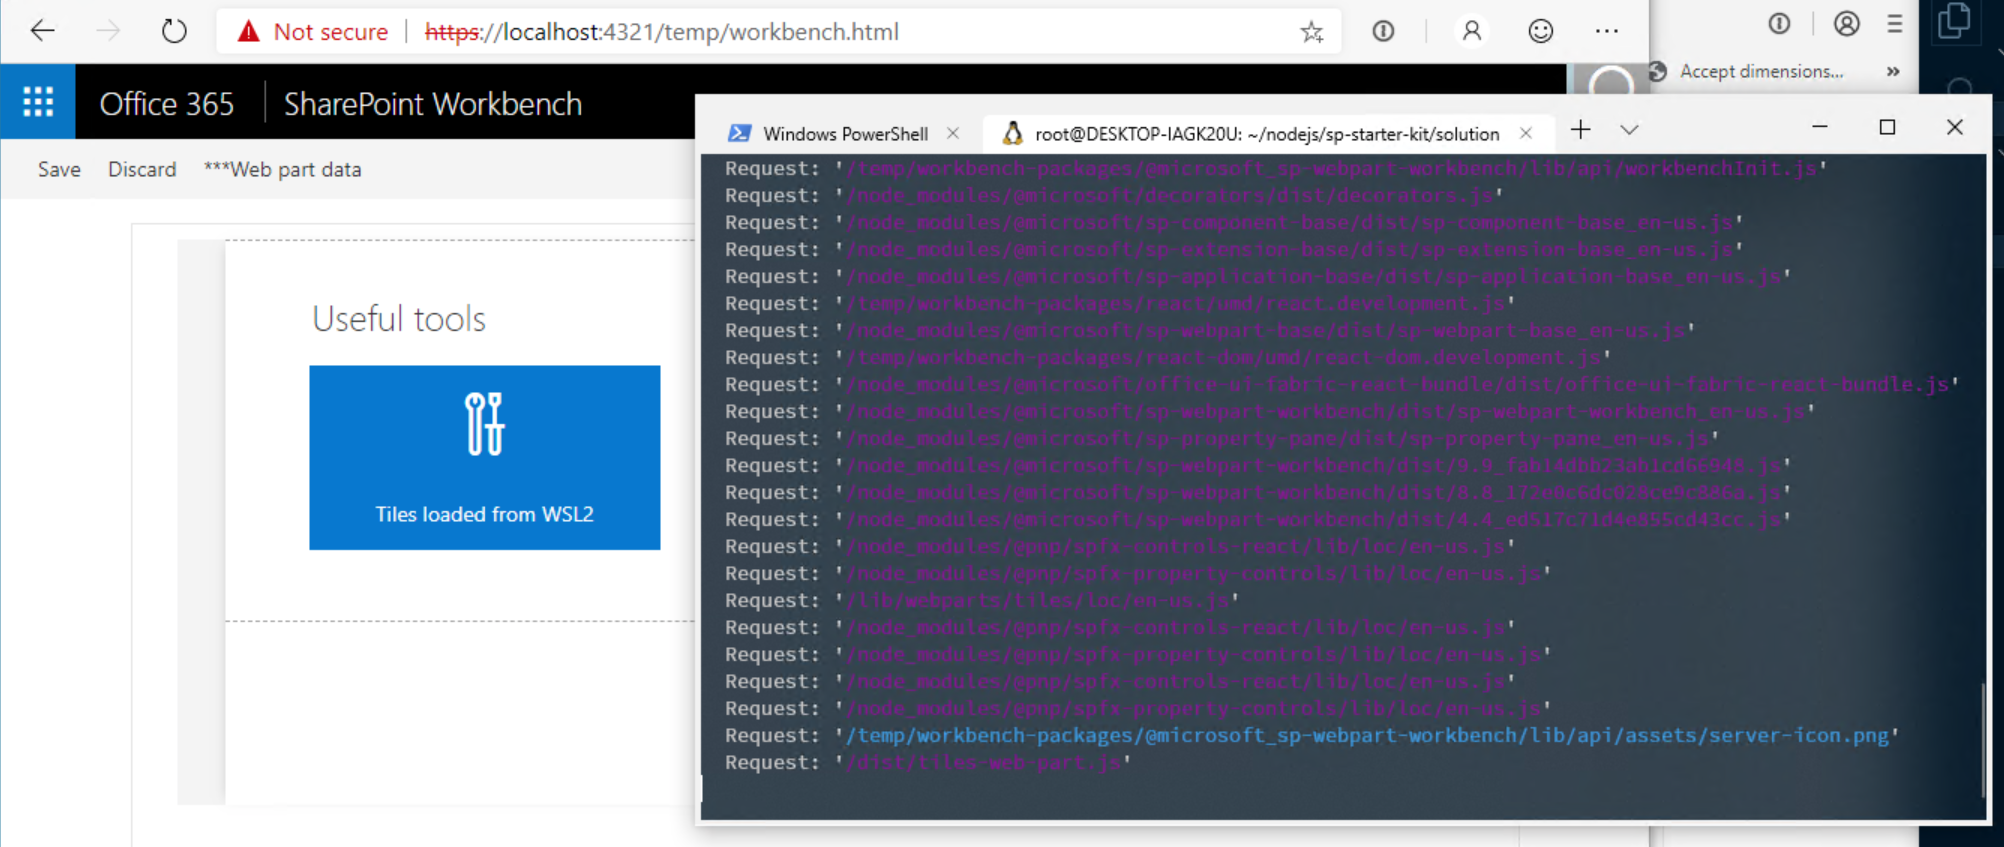
You might ask yourself, what with the gulp serve and the localhost? This is covered by WSL 2 as well.
Related article: Use localhost to connect to your Linux applications from Windows
When you run code . and have the Remote - WSL extension installed, you can directly do changes to your project.
My gulp file
Here is the gulp file which I am using. One special thing I added is the extra check for verifying if it is a debug build. If that is the case, the performance improvements will be used. Otherwise, they will be skipped.
'use strict';
const gulp = require('gulp');const build = require('@microsoft/sp-build-web');const path = require('path');
const envCheck = build.subTask('environmentCheck', (gulp, config, done) => { build.configureWebpack.mergeConfig({ additionalConfiguration: (generatedConfiguration) => { // Optimize build times if (!config.production) { for (const rule of generatedConfiguration.module.rules) { // Add include rule for webpack's source map loader if (rule.use && typeof rule.use === 'string' && rule.use.indexOf('source-map-loader') !== -1) { rule.include = [ path.resolve(__dirname, 'lib') ] }
// Disable minification for css-loader if (rule.use && rule.use instanceof Array && rule.use.length == 2 && rule.use[1].loader && rule.use[1].loader.indexOf('css-loader') !== -1) { rule.use[1].options.minimize = false; } } }
return generatedConfiguration; } });
done();});build.rig.addPreBuildTask(envCheck);
build.initialize(gulp);Let me know how it affects the performance on your machine
Happy coding
Related articles
Handling page creation events in your SPFx application customizer
Aborting your fetch requests in your SharePoint Framework extensions during navigation events
Why it is important to keep the version in sync when using the library component in SharePoint Framework
Report issues or make changes on GitHub
Found a typo or issue in this article? Visit the GitHub repository to make changes or submit a bug report.
Comments

Let's build together
Manage content in VS Code
Present from VS Code
Engage with your audience throughout the event lifecycle