Running Cypress on Azure DevOps for cross-browser testing your solutions
This post is over a year old, some of this information may be out of date.
In my journey, selecting the best tool to automate the end-to-end tests for our products, I had been testing out Cypress for a while. Cypress is just a fantastic tool. It is easy to set up, documentation is up to date, and it makes it easy to verify features/implementations with its UI. For me, there were two downsides. The first one was cross-browser support. The second downside is that everything gets loaded in an iframe. The iframe approach makes it harder to test full-page flows for SharePoint, but that is not a problem for all solutions.
Recently a new major version of Cypress was released: 4.0.0. The biggest change in this release is the cross-browser support.
Info: Cypress 4.0.0 release notes - changelog
This change means that Cypress now allows you to test in Chrome, Firefox, Microsoft Edge, and more. These are the three major browsers that we currently support. Sadly, but not unexpected, is no support for IE11. We still have to solve it with our old tools and manual testing.
In this article, I show the approach I took to implement the Cypress in Azure DevOps to automate your tests.
Important: If you are interested in using Cypress for SharePoint solution testing, check out the following post: Using Cypress for end to end testing your SharePoint solutions.
Cross-browser testing in Cypress
Cross-browser testing with Cypress has been made very easy. All you have to do if you run the tool is to select the browser.
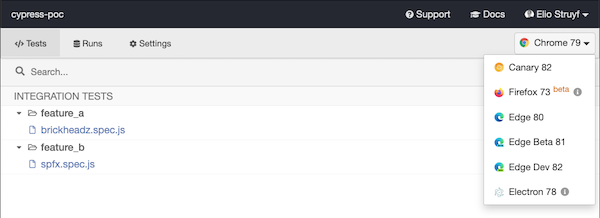
When you want to run the tests from the command line, you can use the —browser flag. Example: cypress run --browser chrome.
Running on Azure DevOps
Running on Azure DevOps is almost as easy as running it locally. To run Cypress, you do not need a special Azure DevOps agent. You can use one of the provided hosted build agents from Azure DevOps. No need to provide your own build agent/containers.
The quickest way to get you started is by checking out the sample project I created: https://github.com/estruyf/cypress-sharepoint-sample.
This sample project contains three stages for testing the solution in the following browsers:
- Chrome
- Firefox
- Microsoft Edge
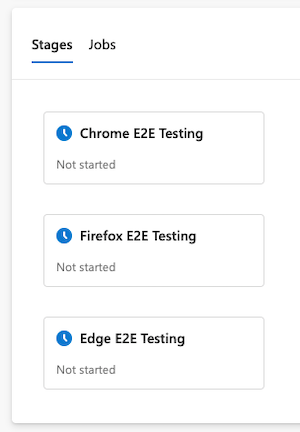
All stages run in parallel (if supported for your environment and when agents are available, of course) and provide a video + screenshot at the end of each run. You are able to add additional browsers if you want to.
Things you need to do to run it
To test out the pipeline, you will have to the following things:
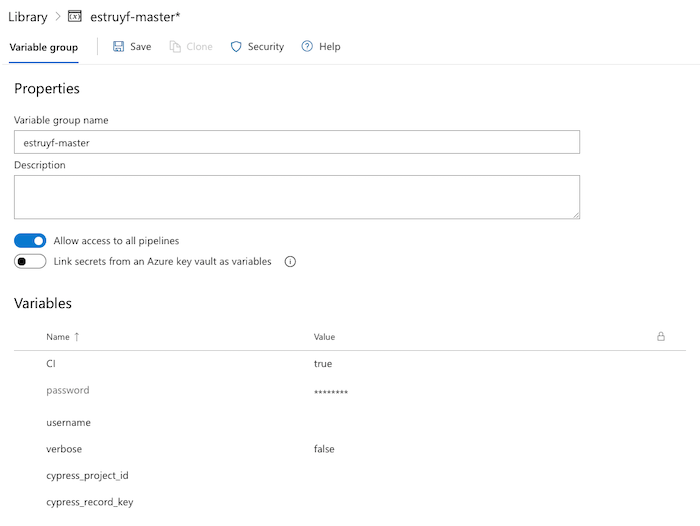
- Start by creating a new variable group on Azure DevOps. I use two, one for my DEV branch and one for my master branch. If you only want to use one branch or one environment, you can remove the dynamic grouping expression in the
azure-pipelines.ymlfile. - Add the following variables to the group:
- CI:
true - username:
<sp-username> - password:
<sp-user-password>
- CI:
- Optional parameters are:
- cypress_project_id:
<cypress-project-id>- the ID of the project Cypress gave you. - cypress_record_key:
<cypress-record-key>- If you want to record to Cypress.io. - verbose:
trueorfalse- Allows you to run the pipeline in verbose mode, and will add some extra logging. Cypress will also run in DEBUG mode by setting it to true.
- cypress_project_id:
- In the
azure-pipelines.ymlfile, update the dynamic group name variables fromestruyf-devandestruyf-masterto your corresponding group names.
Important: If you want to record your results to Cypress.io, you will have to specify the Cypress project ID and key as well. You can find more information to create these keys can here: Cypress recording setup
What does the pipeline do precisely?
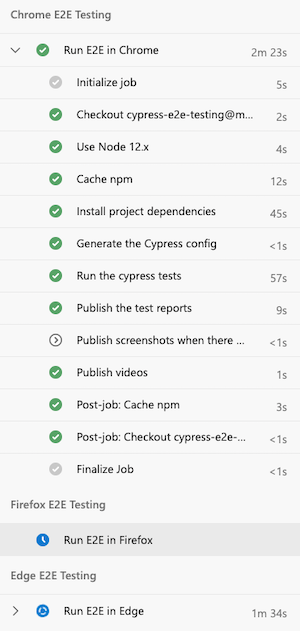
As you can see, the pipeline works in three stages. One stage per browser you want to support. Each of the stages executes the same set of tasks (from installing to uploading test results).
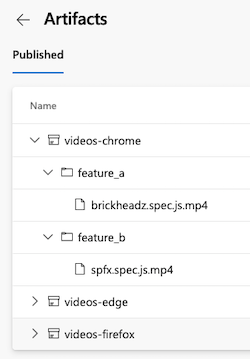
At the end of each stage, the screenshots (when tests failed), videos, and JUnit test reports get uploaded as pipeline artifacts.
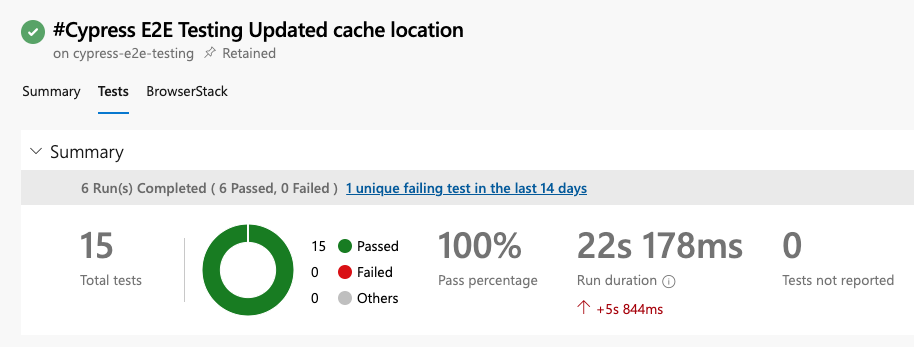
The test results on Azure DevOps look like this:
If you configured the Cypress record variables, you could also check out the results on your Cypress dashboard.
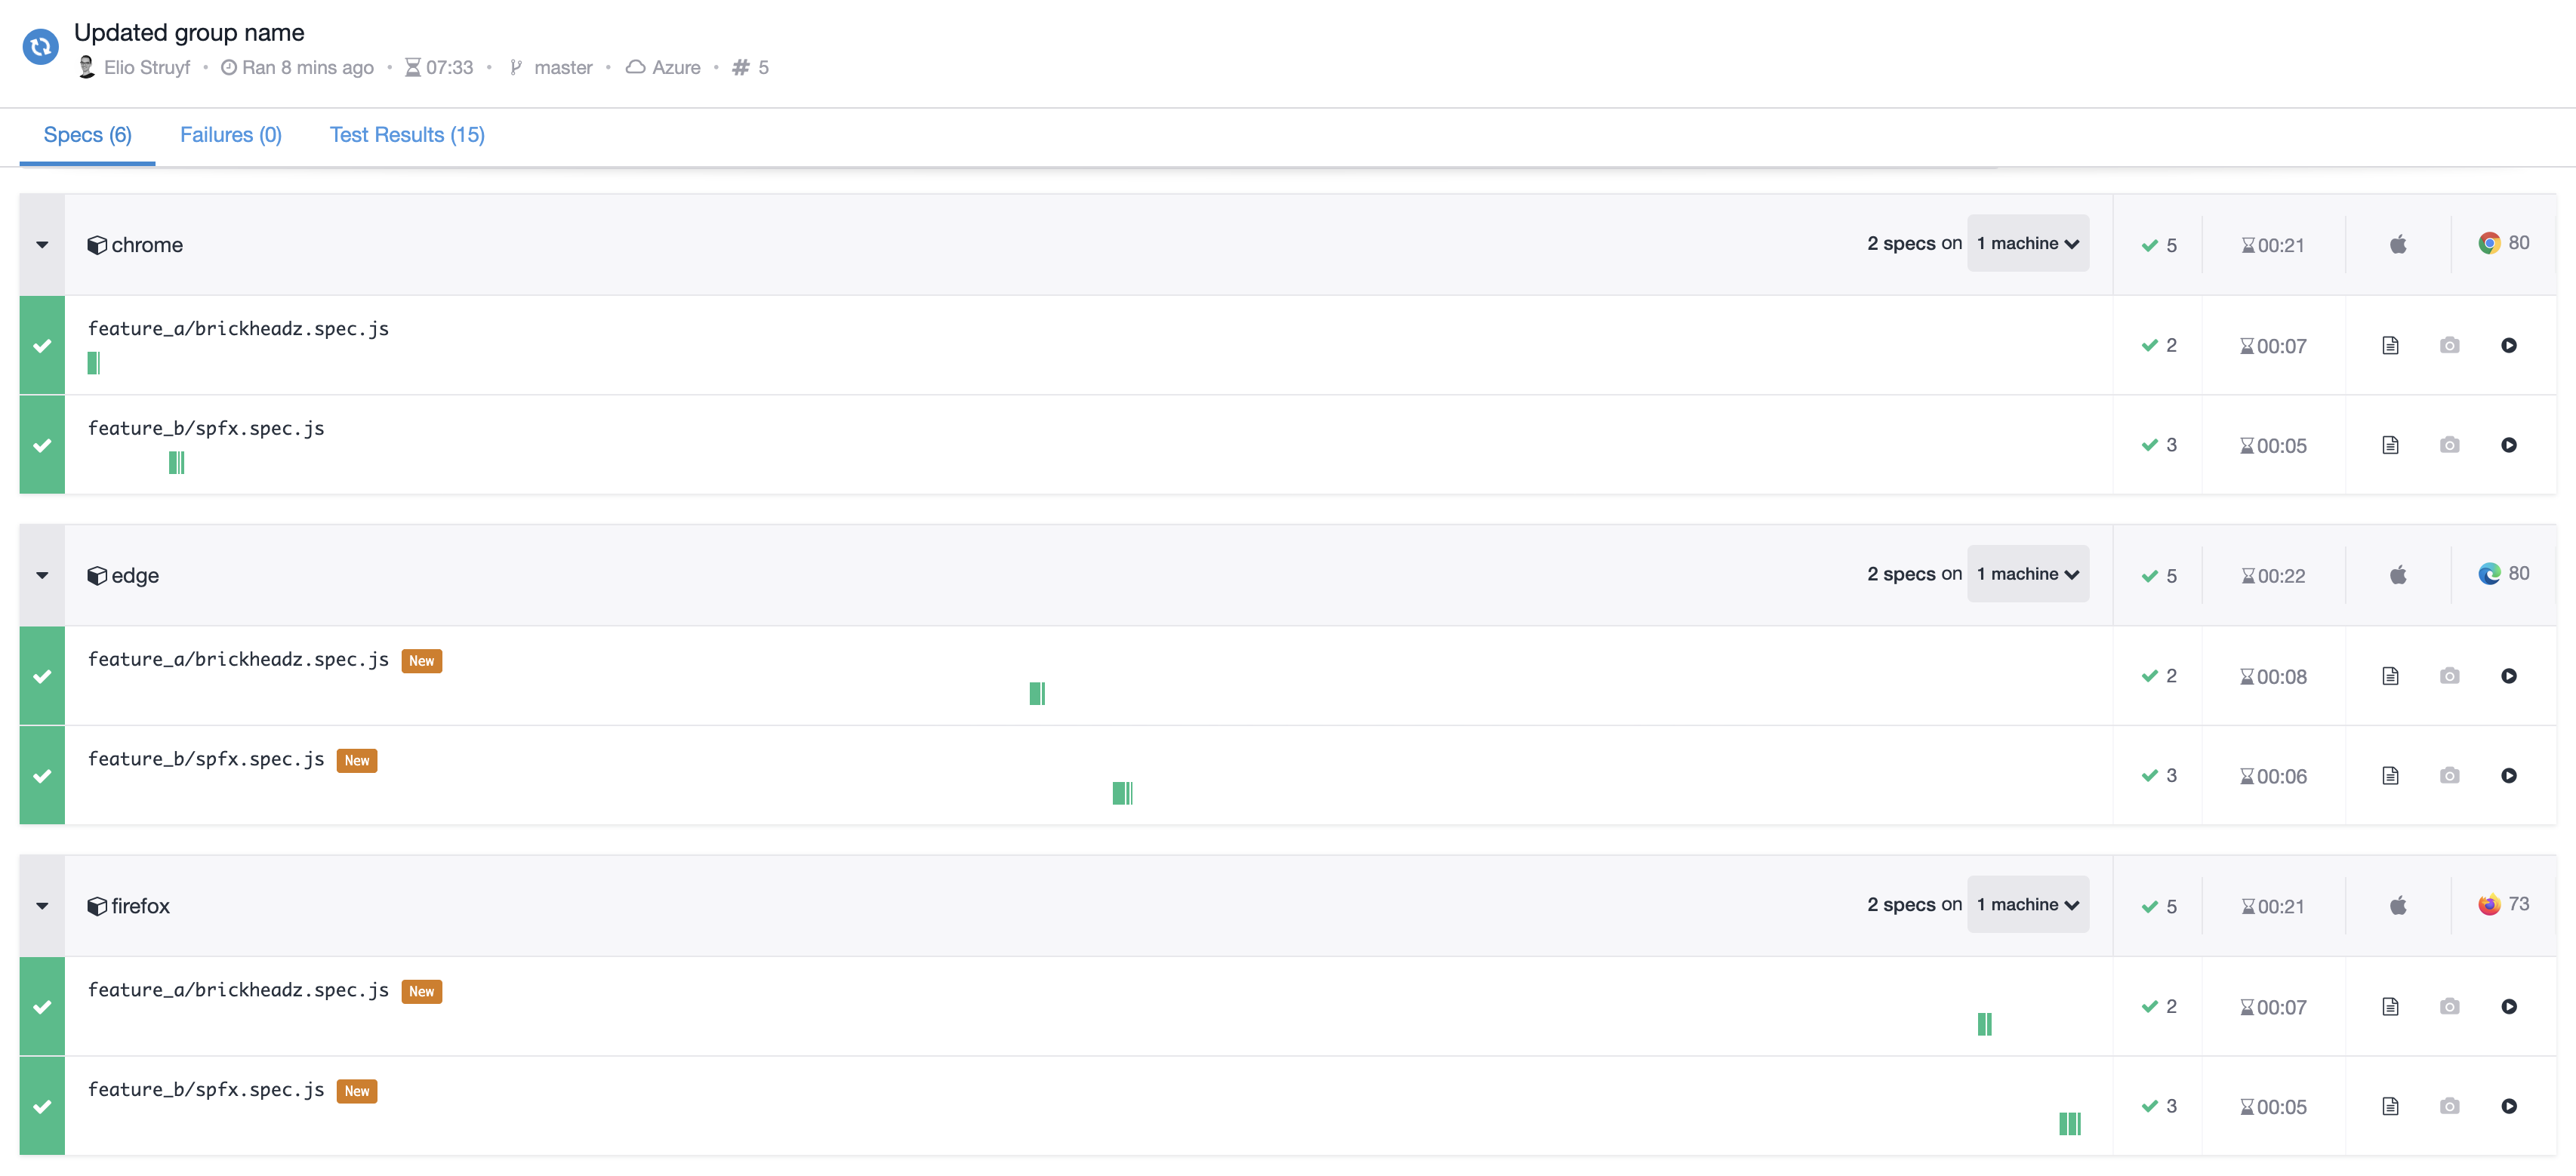
Info: The Cypress dashboard provides you a more detailed overview of all the tests, but it is not required to use this.
Benefits of using Cypress
If you are looking for an E2E testing tool, definitely try out Cypress. Here are a couple of reasons why I would choose Cypress:
- Using a language that our developers/testers already understand
- Tests can be validated quickly during the DEV phase
- When enhancing or fixing a bug of an already existing feature. It - allows you to confirm if previous functionality works as expected.
- It provides a way for developers to document the use case.
- Videos of each test run.
- Validate screenshots of failing tests.
Happy testing
Related articles
Utilize Playwright together with Jest to cross-browser E2E test your solutions
End-to-End testing your Microsoft Teams solutions with Cypress
How to use Cypress to test your SharePoint solution with an Azure AD-secured API
Report issues or make changes on GitHub
Found a typo or issue in this article? Visit the GitHub repository to make changes or submit a bug report.
Comments

Let's build together
Manage content in VS Code
Present from VS Code
Engage with your audience throughout the event lifecycle