Running an Azure DevOps self-hosted agent on WSL
This post is over a year old, some of this information may be out of date.
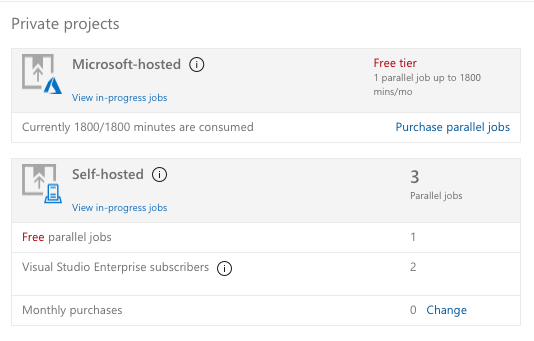
Some time ago, I migrated my blog from Wordpress to a static site by Hugo. To generate the static pages, I make use of Azure DevOps pipelines. The free tier, which gives me up to 1800 minutes/month, is enough, but not this month. When I wanted to publish my blog post from yesterday, I got the following friendly message:
Error: Your organization has no free minutes remaining. Add a hosted pipeline to run more builds or releases. See https://eliostruyf.visualstudio.com//_admin/_buildQueue?_a=resourceLimits for more information.
What are my options
First, I thought to wait it out, as the month is almost at its end. But hey, what is the fun in that?
Then I thought, what if I create a self-hosted agent? That would be a great solution. As the free tier allows you to link one self-hosted agent, and you can use this for an unlimited number of minutes.
What I did not want to do was change too much in my pipelines (best even nothing) as this agent will be sporadically used. One of my pipeline dependencies is that it runs on Linux on which it installs Hugo. That meant I could not run it on my Macbook or Windows machines. I was thinking about the following other options:
- Docker/Container
- VM
In my opinion, both of these would make it a bit more complex to get it up and running quickly. That gave me the idea to test it out on WSL. On my Windows device, I have WSL2 running with multiple Linux distros. The one I picked for this sample is Ubuntu-18.04.
The WSL configuration
Info: I skip the WSL configuration, as I assume when reading this, you already have it in stalled on your machine. If not, you can follow this guide: Windows Subsystem for Linux Installation Guide for Windows 10.
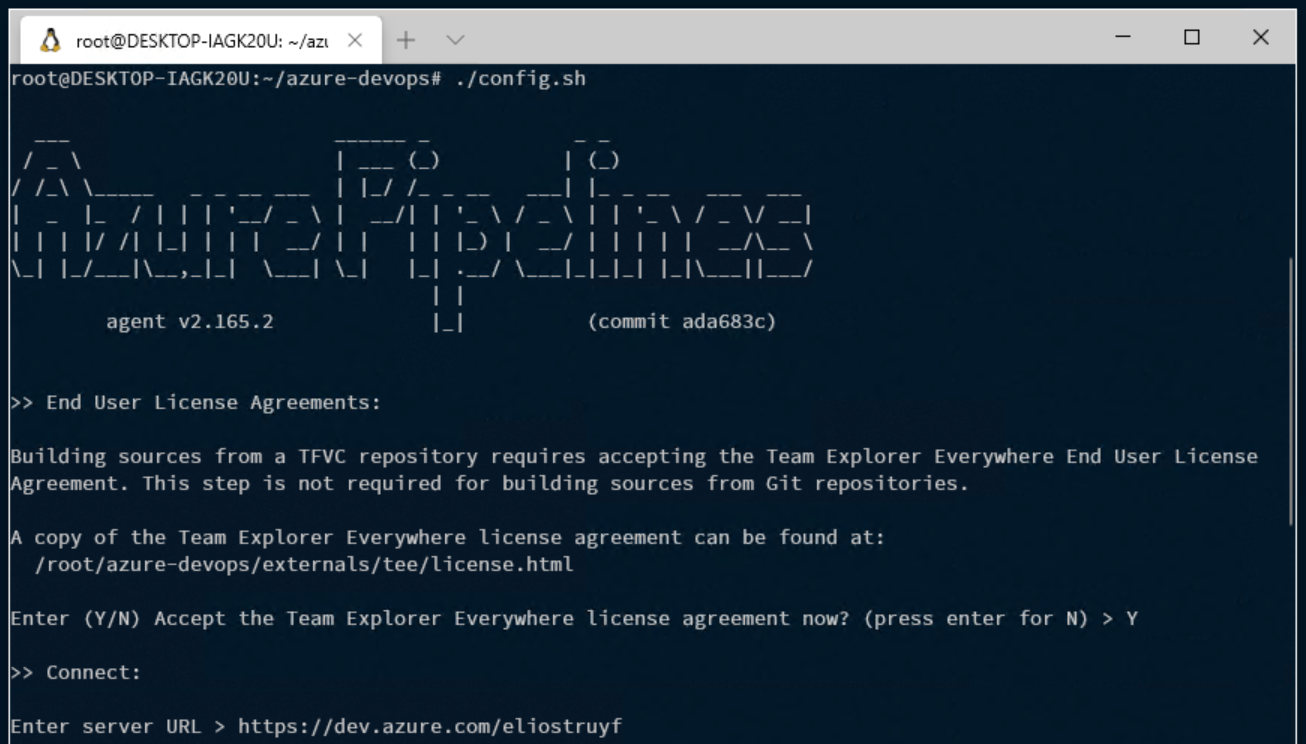
The WSL configuration for a self-hosted agent is straightforward. In order to enable it, all you need to do is follow the Azure DevOps documentation for creating a self-hosted Linux agent: Self-hosted Linux agents.
Essential steps in the guide are:
- Create a personal access token;
- Download and configure the agent.
Important: When you downloaded the sources, move them to your WSL location. By doing it this way, you make sure that you get the full speed of the Linux file system. Running node/npm on it will significantly be improved.
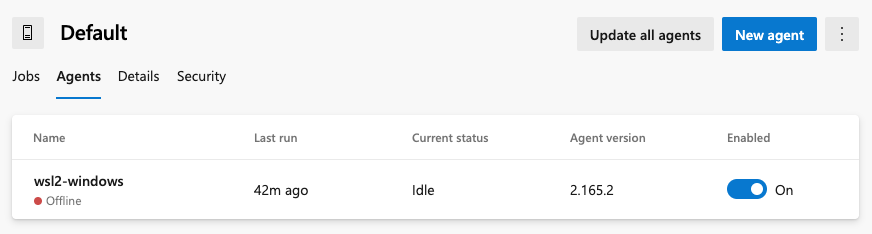
Once you did all the configuration steps, you should now have a new agent available, which is offline.
Info: When you get the following message
Must not start with sudo, all you need to do is run:export AGENT_ALLOW_RUNASROOT="1"to fix it.
Before starting your agent
As the agent will execute the same tasks as on your hosted agents, you need to make sure you have all the required tools installed to run your pipeline successfully. In my case, these tools were: zip and Azure CLI but will vary for each pipeline, of course.
# Install zipapt-get install zip
# Install Azure CLIcurl -sL https://aka.ms/InstallAzureCLIDeb | sudo bashStarting the agent
Once you installed all your prerequisites, you can start up your agent. To do this, all you need to run is: ./run.sh.
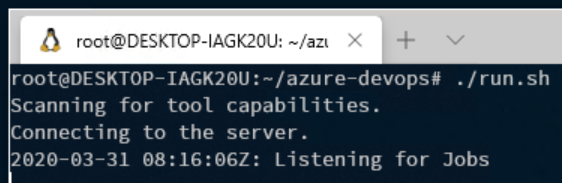
The agent its status should now change to online.
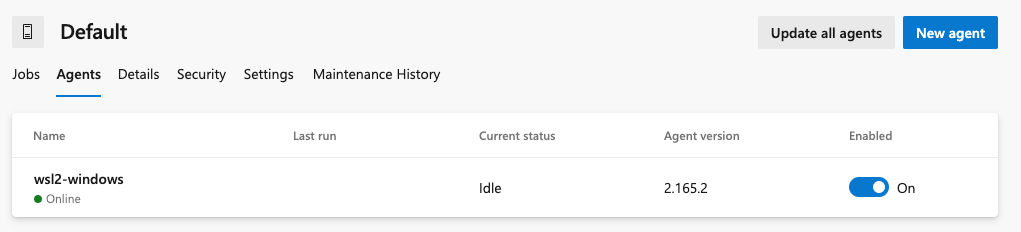
Now you should be able to use this agent for your pipelines.
Additional configuration
Info: If you plan to create a new pipeline, you do not have to follow the next steps.
As I want to be able to run the pipeline when I am out of credits, I looked for an easy solution. The first thing I tried was to set a variable that specified if it was going to run locally/self-hosted. The problem with it is that once you create a pipeline, it automatically configures the default agent pool or VM. In my case, this was the Hosted Ubuntu 1604 agent.
Due to this, each time the pipeline starts it will immediatly stop and mention that you do not have credits anymore.
The start-up agent cannot be easily changed, so what I did was to create an additional pipeline, which uses the same azure-pipelines.yml from my project, but overwrote some settings like:
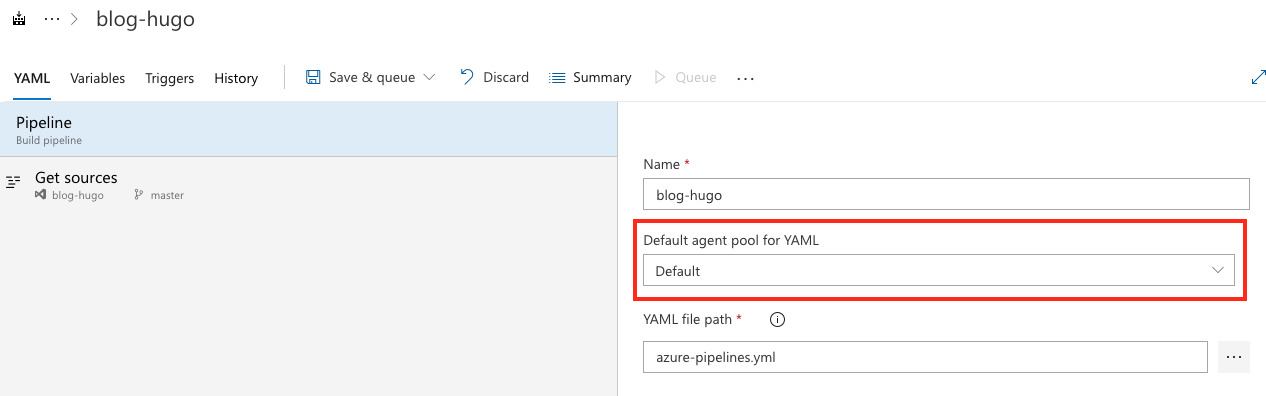
- Default agent pool for YAML:
default;
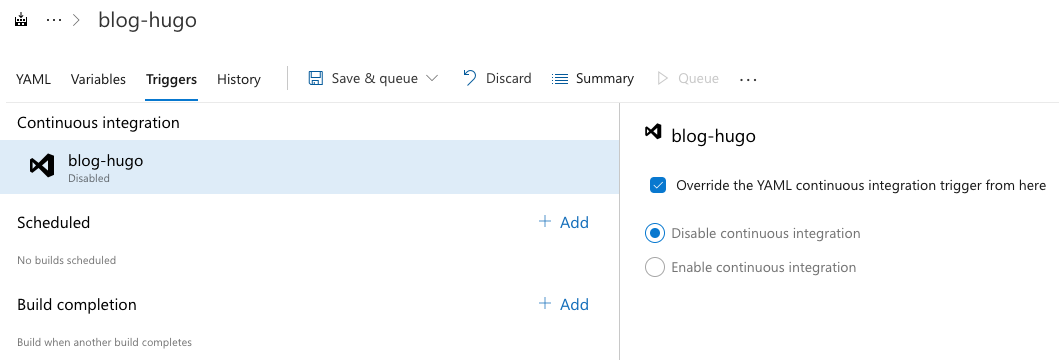
- Triggers -> Continuous Integration: Override the YAML configration, and disable continuous integration. Enabling this setting will prevent that this pipeline will automatically run each time you push your code.
The steps
These are the steps to create the additional flow for your WSL hosted pipeline:
- Go to Azure DevOps;
- Click on Pipelines;
- Click new pipeline;
- Select Azure Repos Git and click next;
- Select your project from the list and click next;
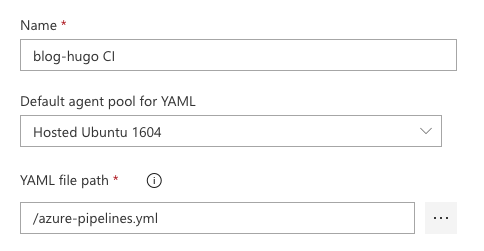
- Select Existing Azure Pipelines YAML file;
- Specify the path of the
azure-pipelines.ymlfile in the project. Click continue; - On the review page, you can override some variables if needed;
- Save the pipeline.

Once you followed the previous steps, you should now have a new pipeline for your project. Still, a couple of extra configuration steps are required.
- Click on the new pipeline;
- Click on edit;
- Click on the three dots next to Run and click on Triggers;

- Underneath the Triggers tab, you can configure to disable the continuous integration.
- On the YAML tab underneath Pipeline, you can specify the default agent pool to use for the pipeline. For my pipeline, I choose default.
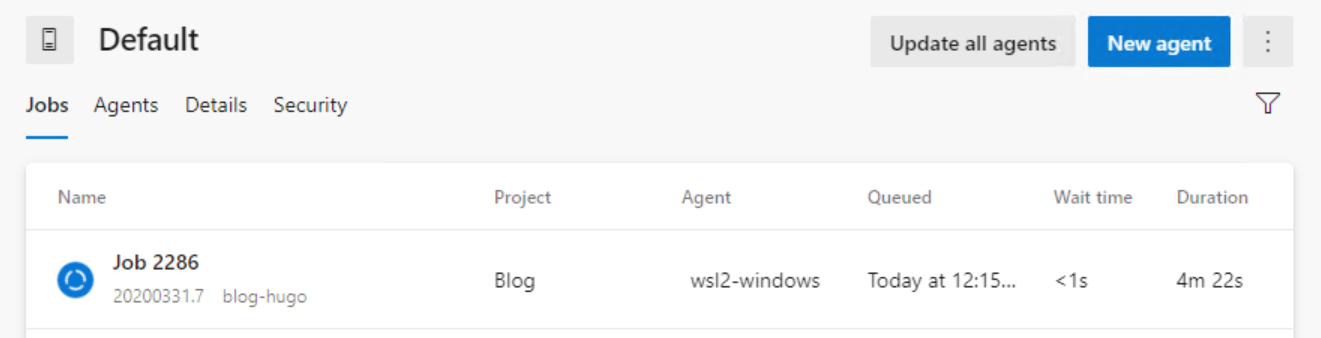
Once you completed these configuration steps, you will now be able to run the pipeline manually, and it should execute on your WSL agent.
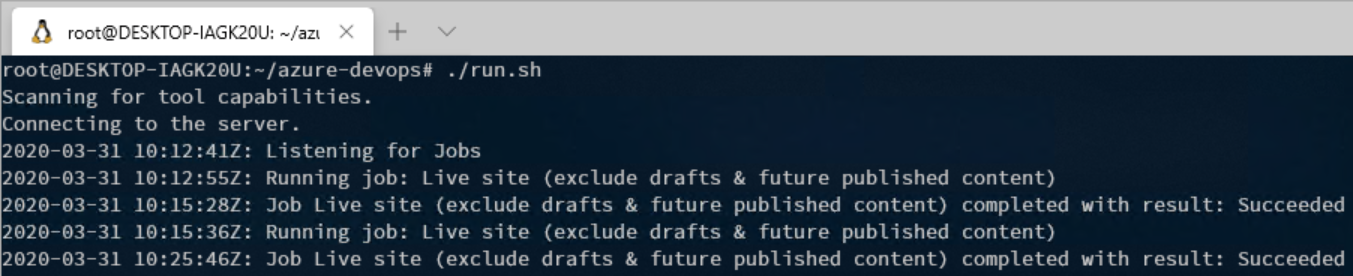
Here is another screenshot on WSL terminal itself:
Related articles
Quick tip: How to use dynamic variable groups in Azure DevOps YAML pipelines
Using Doctor on Azure DevOps to generate your documentation
#DevHack: Installing Hugo on Windows with WSL
Get to know how you can install Hugo io on Windows by using Windows Subsystem for Linux (WSL) in combination with Homebrew.
Report issues or make changes on GitHub
Found a typo or issue in this article? Visit the GitHub repository to make changes or submit a bug report.
Comments

Let's build together
Manage content in VS Code
Present from VS Code
Engage with your audience throughout the event lifecycle