Moving your database to the “MySQL in App” option in Azure
This post is over a year old, some of this information may be out of date.
I have been running this blog since 2010. Over the years I have switched from a couple of hosting providers. Since two years I completely moved to Azure for hosting my site. The experience in performance and configuration is much better compared to the others, the only downside was the MySQL database.
Azure did not have to option to create a MySQL database, you had to use one of the third-party like ClearDB. This is what I used in the beginning when I moved to Azure. After a couple of months, my database became too big, so I had to switch plans. Back then, ClearDB did not have an “in the middle” plan (which it does have right now). So I looked for other approaches to keep everything in Azure itself.
One of the things I tried was the Wordpress + MSSQL option. After a day I found out that it was not going to work out for me. There were some problems with searching articles (this is currently done via Azure Search) and a couple of other minor issues.
Info: these things could already be fixed. I have not tried it out since that one time.
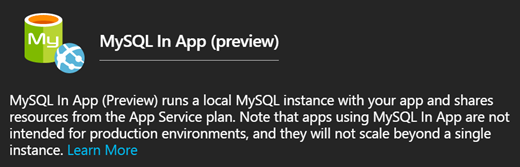
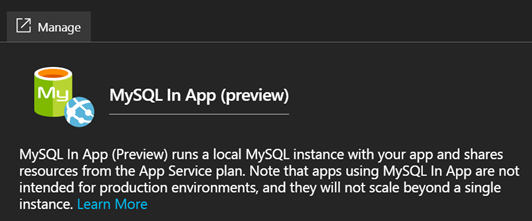
So I went for setting up my own MySQL server. Which ran fine and performance was much better than ClearDB, but it was a bit pricier. This also had to do with the VNET I had configured to let my Web App connect to the MySQL server. A couple weeks ago I saw the article that the Azure team released a new feature in preview called: MySQL in App. This lets you create a MySQL database for the Web App context. There are some limitations at the moment. Like it cannot yet get scaled, and is not production ready.
Info: For now, my blog is just in testing stage. As I am currently testing out this feature.
Azure info: here you can find the original post of the announcement - https://azure.microsoft.com/en-us/blog/mysql-in-app-preview-app-service/
If you want to test out this functionality, I will guide you through the process of moving your database to the MySQL in App one.
Setting up your MySQL in App
Setting up your new MySQL database is simple, all you have to do is opening your Web App in the Azure portal and click on MySQL in App option.
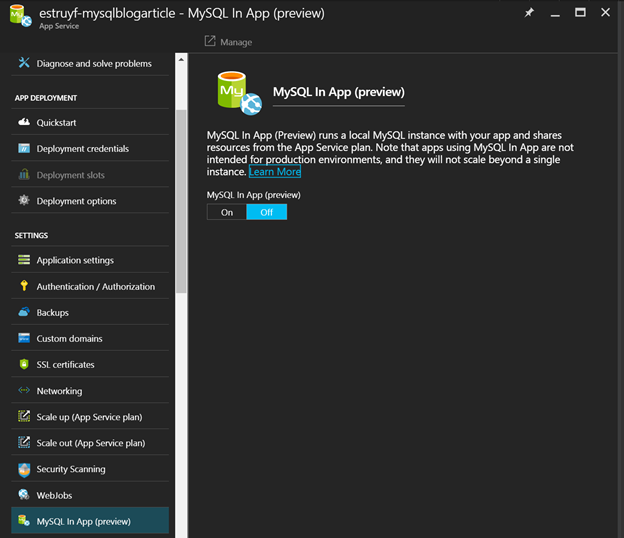
Set the MySQL in App (preview) option to On and save this setting.
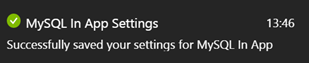
Your MySQL database will be created and like every other service, Azure will notify you when finished.
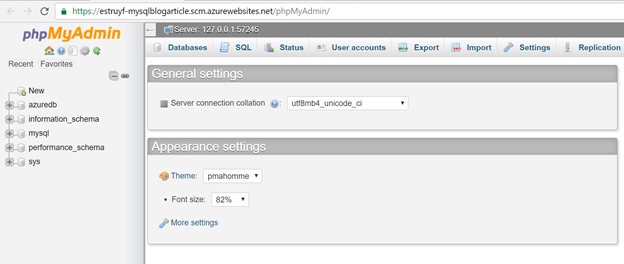
Once the MySQL creation is done, click on the Manage option at the top left:
This will open a PHPMyAdmin site.
Info: this is one of the best features. Now I can remove my own PHPMyAdmin site I had as a backup plan when something failed or had to do some database changes.
Moving from ClearDB
If you are moving from ClearDB, it might be that if you open the PHPMyAdmin page, you will see your databases hosted at ClearDB. If this is the case, you have to remove the connection string of your MySQL connection in the application settings:

When you configured the ClearDB database, you had to link it to a Web App. That is when this connection string was added. Once it is removed and settings were saved, you should be able to open your new MySQL databases on Azure.
Migrate database
Migrating your database content is easy. Do an export of your MySQL database on your current host, and import this SQL file in the PHPMyAdmin site. Once this is done, you have to update your MySQL connection in your PHP file.
Configuring your application
I my case, I am using Wordpress. Normally, you enter the database name, hostname, username, and password. The MySQL of Azure works a bit differently. Your database connection information can be retrieved from the MYSQLCONNSTR_localdb environment variable.
Info: they store the connection information in an environment variable to be able to make changes to it easily without impacting your application. Like for example MySQL port changes.
So normally you have something like this in your wp-config.php file:
define('DB_NAME', 'databasename');define('DB_USER', 'username');define('DB_PASSWORD', 'password');define('DB_HOST', 'mysqlvmonazure.cloudapp.net');This needs to be changed to the following code:
/* Azure in APP MySQL */$connectstr_dbhost = '';$connectstr_dbname = '';$connectstr_dbusername = '';$connectstr_dbpassword = '';
foreach ($_SERVER as $key => $value) { if (strpos($key, "MYSQLCONNSTR_") !== 0) { continue; }
$connectstr_dbhost = preg_replace("/^.*Data Source=(.+?);.*$/", "\\1", $value); $connectstr_dbname = preg_replace("/^.*Database=(.+?);.*$/", "\\1", $value); $connectstr_dbusername = preg_replace("/^.*User Id=(.+?);.*$/", "\\1", $value); $connectstr_dbpassword = preg_replace("/^.*Password=(.+?)$/", "\\1", $value);}
define('DB_NAME', $connectstr_dbname);define('DB_USER', $connectstr_dbusername);define('DB_PASSWORD', $connectstr_dbpassword);define('DB_HOST', $connectstr_dbhost);Info: here is the official article of where I got this code - https://blogs.msdn.microsoft.com/appserviceteam/2016/08/18/announcing-mysql-in-app-preview-for-web-apps/#mysqlconnect
Once you did this change, your site is using Azure MySQL.
Related articles
Report issues or make changes on GitHub
Found a typo or issue in this article? Visit the GitHub repository to make changes or submit a bug report.
Comments

Let's build together
Manage content in VS Code
Present from VS Code
Engage with your audience throughout the event lifecycle