Using Doctor on Azure DevOps to generate your documentation
This post is over a year old, some of this information may be out of date.
GitHub Actions is hot these days, but still, Azure DevOps is being used in many companies, and I do as well. Doctor a tool for publishing your markdown documentation on SharePoint, works nicely on Azure DevOps as well.
The credentials
To start, you need to choose how you will publish your documentation to SharePoint. Doctor allows three types of authentication.
- Certificate authentication
- Username and password
- Device code
The third option is only preferred when using it on your local machine. When you want to use certificate authentication, you need to do some steps before making use of it.
Using the credentials
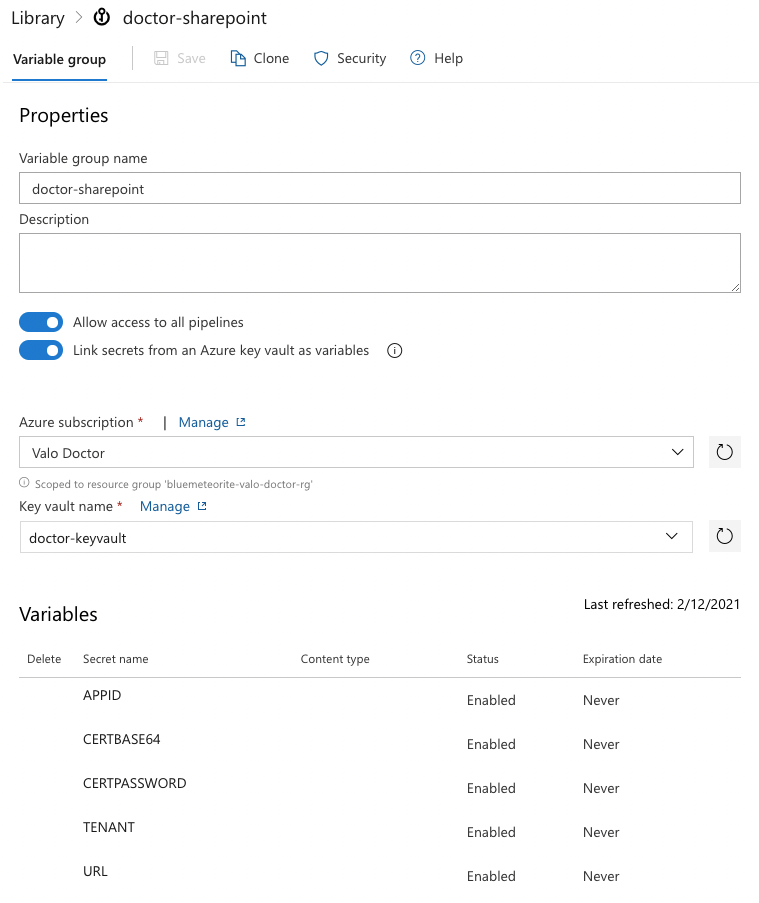
On Azure DevOps, I recommend you make use of a variable group to connect to an Azure Key Vault. That way, all your secrets are secure and easy to be changed from one place.
Using a variable group is always a good idea; you do not need to manage your variables in your pipelines.
The pipeline
The pipeline itself is relatively straightforward — the azure-pipelines.yml file contents look like this:
trigger:- main- dev
variables: - group: doctor-sharepoint
stages:- stage: 'publish' displayName: 'Publish to SharePoint' jobs: - job: 'mkdocs_build' displayName: 'Building Documentation' pool: vmImage: ubuntu-latest steps: - script: | debug="" if [[ $(System.Debug) = true ]]; then debug="--debug" fi
cleanStart="" if [[ $(build.SourceBranchName) = "main" ]]; then cleanStart="--cleanStart --confirm" fi
sudo npm i @estruyf/doctor@next -g doctor publish --auth certificate --certificateBase64Encoded $(CERTBASE64) --password $(CERTPASSWORD) --appId $(APPID) --tenant $(TENANT) --url $(URL) $cleanStart $debug displayName: 'Publish via Doctor'Under the variables property, the variable group called doctor-sharepoint in my case gets retrieved, which includes all the required environment variables.
The pipeline will get triggered whenever there is a push to the main or dev branch and does a clean-up first on main. If you set the debug system variable to true. Doctor will automatically run in debug mode, which gives you extra logging.
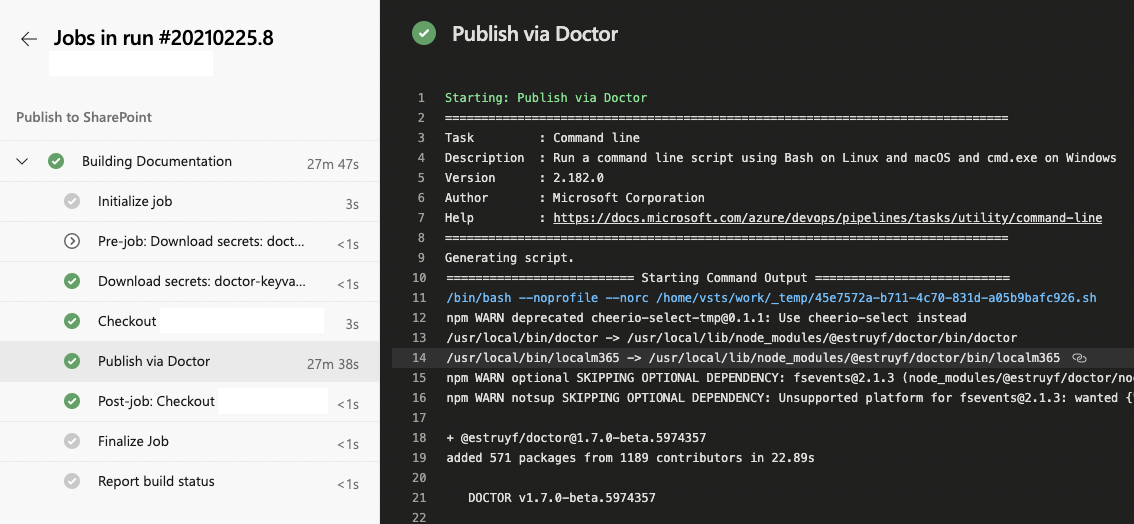
Running the pipeline
Running the pipeline on Azure DevOps will give you the following result:
Related articles
Automate publishing process of MkDocs to Static Website hosting in Azure Storage with VSTS
Quick tip: How to use dynamic variable groups in Azure DevOps YAML pipelines
Running an Azure DevOps self-hosted agent on WSL
Report issues or make changes on GitHub
Found a typo or issue in this article? Visit the GitHub repository to make changes or submit a bug report.
Comments

Let's build together
Manage content in VS Code
Present from VS Code
Engage with your audience throughout the event lifecycle