#DevHack: Installing Hugo on Windows with WSL
This post is over a year old, some of this information may be out of date.
There were a couple of reasons for me to test out Windows 11, but the main reason was to give a new life to a device I hardly used anymore.
Ever since I bought my Mac Mini for the office, my previous desktop device (running Hackintosh) kept turned off. To make sticker printing easier in the office, I thought to give it a new life and install Windows 11. That way, I could see how cool/uncool it is compared to macOS.
Since I installed Windows 11, I started to like it. It is something new, but not only that. Windows has innovated over the years. With Windows Subsystem for Linux (WSL), it became pretty powerful and can use many tools I am used to on macOS.
I wanted to check how easy it is to get my blog developer workflow up and running on Windows 11.
Background information
For my blog, I am using Hugo for statically generating my website. Besides that, I use a couple of node.js scripts to create specific pages/content automatically.
Installing Hugo
On macOS, I would open my terminal and type brew install hugo. I thought this would not work for Windows, so I went to the documentation. To my surprise, I found out that Homebrew also works on Linux.
WSL is what I will primarily be using because it makes Node.js-based solutions install and run faster and allow me to use NVM. So, Homebrew would be a great approach.
The steps I had to take:
- Install WSL:
wsl --install(optional if you have not yet installed it - more information on how to install WSL on Windows) - Go to the Homebrew site, and copy the install script. Run the script in your WSL terminal instance.
- Once Homebrew is installed, you need to run a couple of extra commands to make it available (these can be found here: Homebrew on Linux):
test -d ~/.linuxbrew && eval $(~/.linuxbrew/bin/brew shellenv)
test -d /home/linuxbrew/.linuxbrew && eval $(/home/linuxbrew/.linuxbrew/bin/brew shellenv)
test -r ~/.profile && echo "eval \$($(brew --prefix)/bin/brew shellenv)" >>~/.profile- Now that the
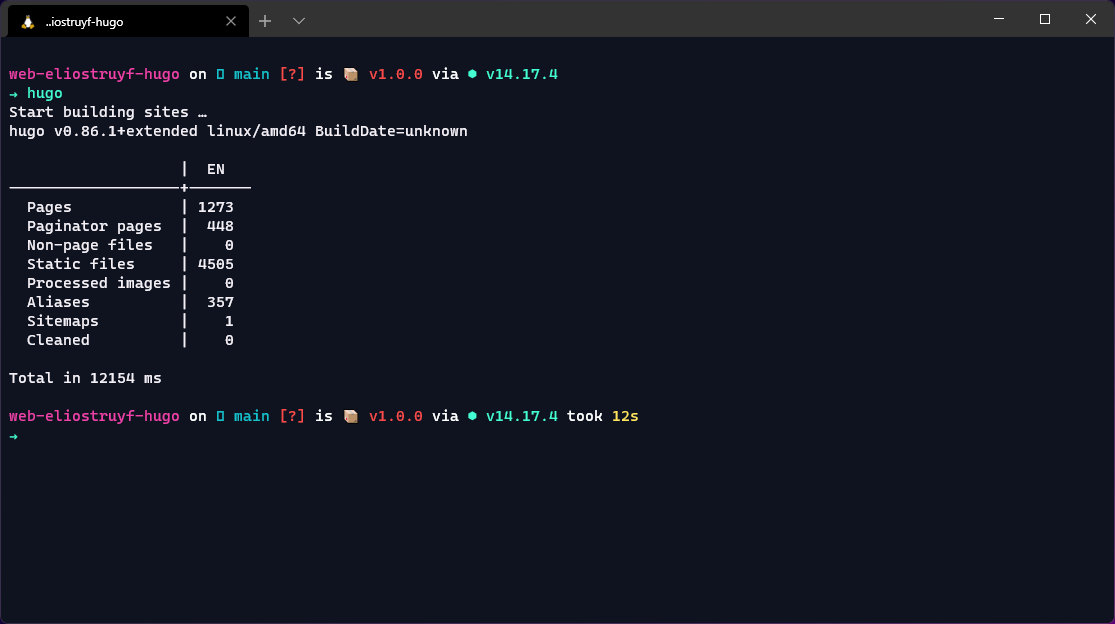
brewcommand is available, you can runbrew install hugo. - Once completed, you will have access to the
hugocommand, generate a new site, or build/serve an existing one.
Related articles
Report issues or make changes on GitHub
Found a typo or issue in this article? Visit the GitHub repository to make changes or submit a bug report.
Comments

Let's build together
Manage content in VS Code
Present from VS Code
Engage with your audience throughout the event lifecycle