#DevHack: Configuring domains for your branches on Vercel
This post is over a year old, some of this information may be out of date.
To prepare my new online store’s release for selling personalizable bike stickers called: Pimp Your Own Bike. I wanted to make sure that I could test out my website before merging it to the main branch. Using a predefined custom domain would be the easiest way.
On Azure, I would typically use slots on the web app. Each slot defines the environment you are targeting, for instance, development. For PYOB I wanted to use Vercel. I love the simplicity of their service and UI. All of it works so nicely, and it comes with all of the functionalities I need.
Environments and their variables
Vercel comes with three types of environments:
- Production: This refers to the branch you use for your production environment. For instance,
main. - Preview: This is your staging environment and refers to any other branch than the
mainbranch. - Development: This is intended for local development and allows each team member to easily copy the development variables to their machine.
In my scenario, that means that my main branch links to production. My dev and staging environments relate to the preview environment and their environment variables.
On Azure, it would mean that for each branch, I configure my environment variables separately. The documentation points out that you best prefix the variables when you want to use multiple staging environments.
To be honest, this is not optimal when you have to maintain various branches. For most sites, this will be more than sufficient.
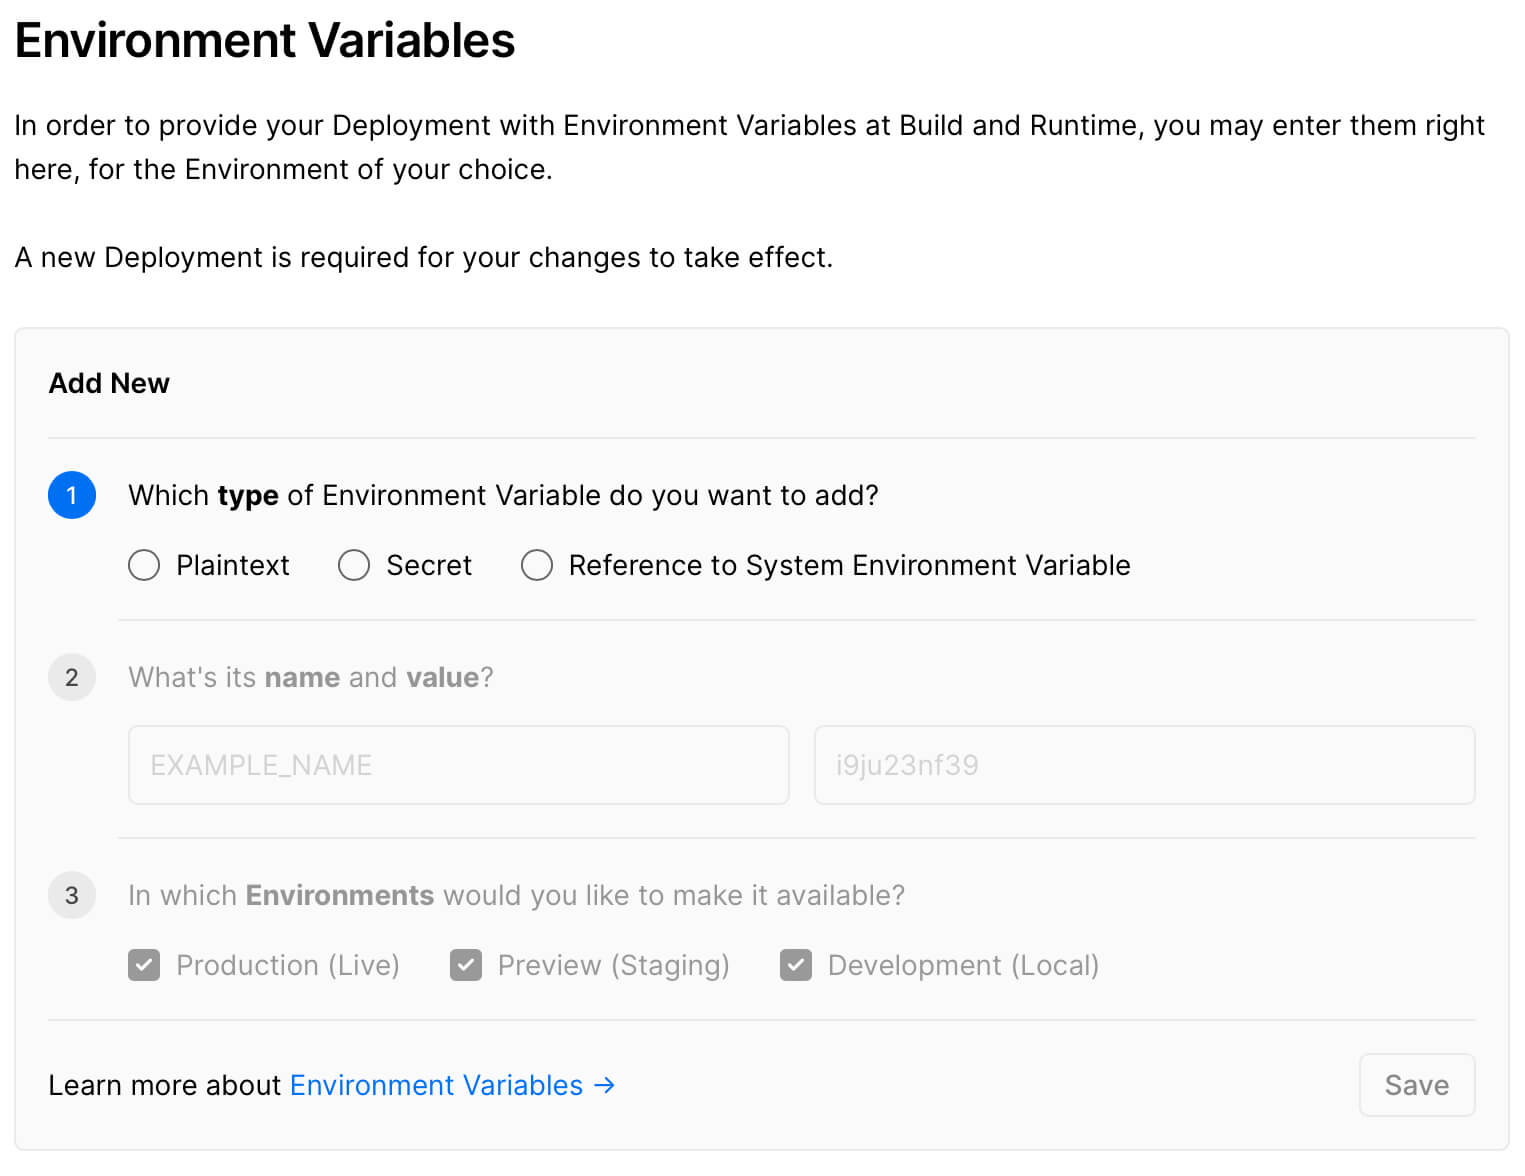
System environment variables
Within the recently released UI improvements, the system environment variables are more comfortable to configure. Before, you had to configure each of the variables you wanted to use manually. Now you can automatically expose them all, but not only that, but you can also choose them from the dropdown list. That way, you do not have to go to the documentation.
Configuring the custom URLs for each branch
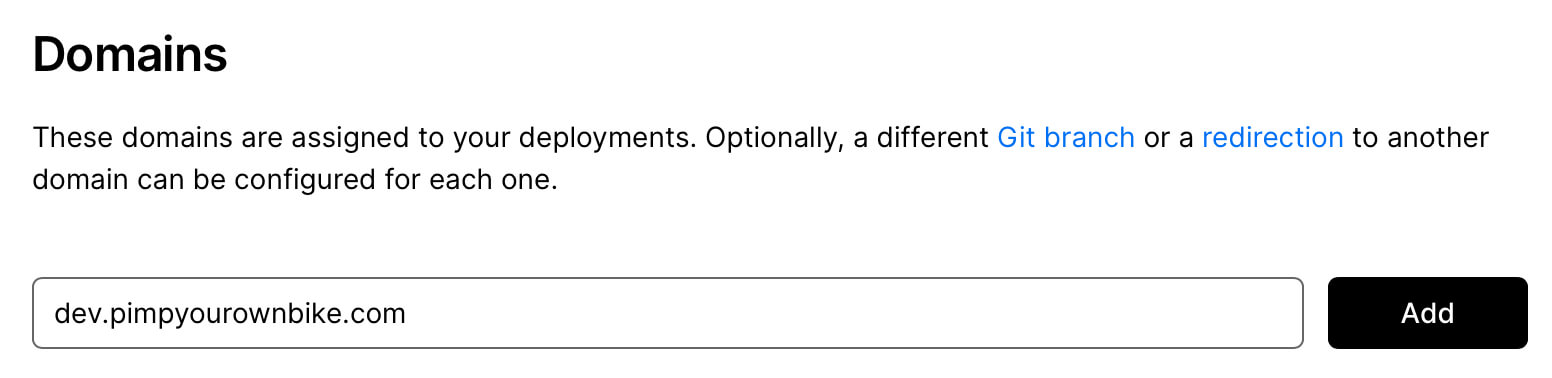
When it comes to creating a unique URL for each branch, this is super simple in the Vercel UI. All you have to do is go to your project settings, and under domains, you can add a new domain. The domain can also be a subdomain like dev.pimpyourownbike.com (when your domain is already configured).
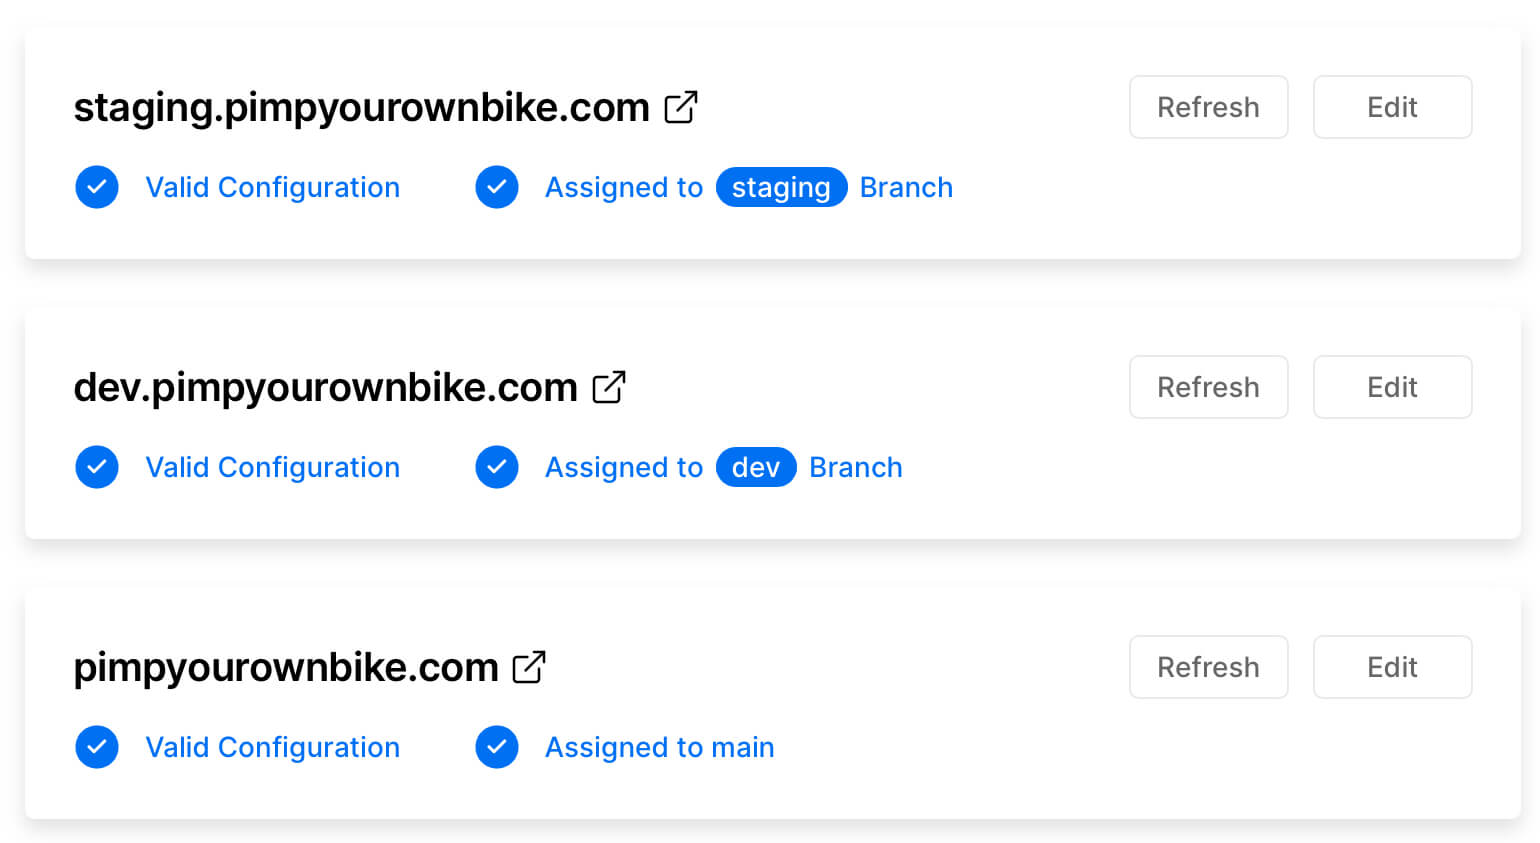
Once the domain is available, you can modify it to specify the Git branch.

How I used the environment variables
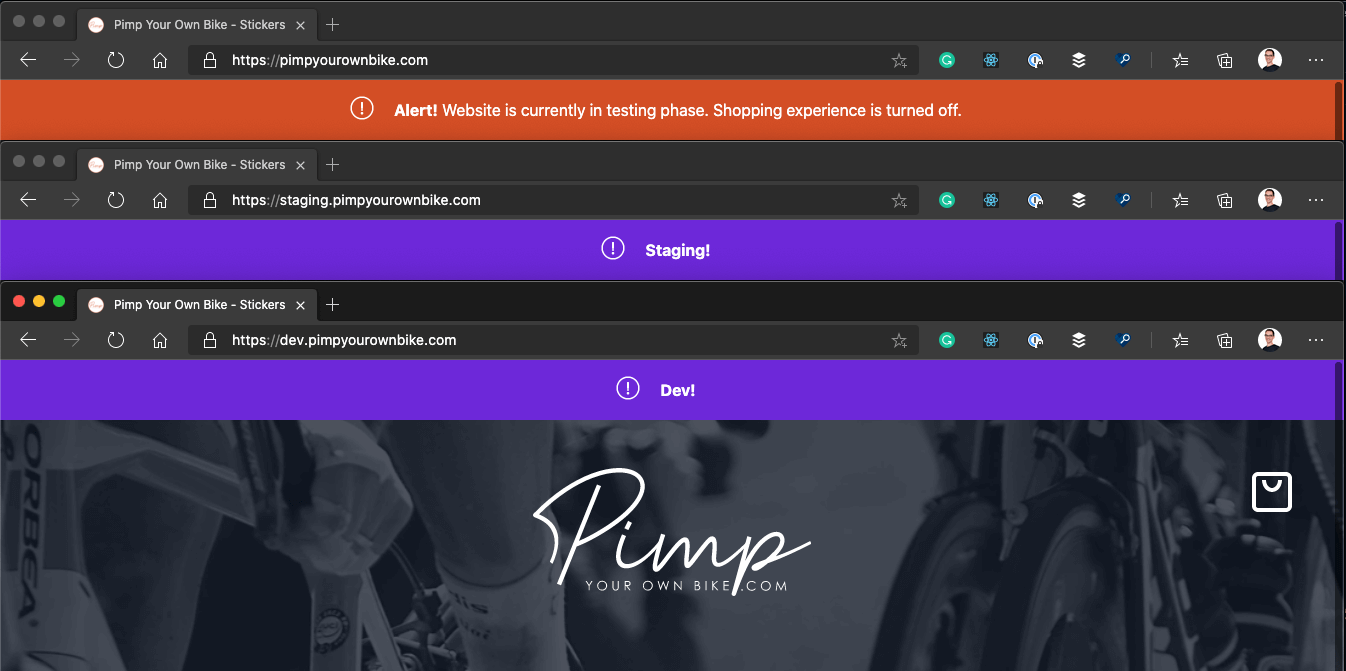
To easily spot which environment I am working/testing, I used the VERCEL_GIT_COMMIT_REF. This variable corresponds to the branch name and is used to show a different banner on each environment.

In code, it looks as follows:
{ (process.env.NEXT_PUBLIC_VERCEL_GIT_COMMIT_REF !== "main") && ( <Alert key="dev-alert" bgClass="bg-purple-700" txtClass="text-white"> <b className="capitalize">{process.env.NEXT_PUBLIC_VERCEL_GIT_COMMIT_REF}!</b> </Alert> )}Have fun configuring your environments
Related articles
Report issues or make changes on GitHub
Found a typo or issue in this article? Visit the GitHub repository to make changes or submit a bug report.
Comments

Let's build together
Manage content in VS Code
Present from VS Code
Engage with your audience throughout the event lifecycle