It is Demo Time; how to make your live code demos smoother
This post is over a year old, some of this information may be out of date.
I have had many sessions at conferences over the years. One thing I always liked to do is perform live demos. Although I know things could fail, it is also fun to show the audience how things work.
Those live coding demos take a lot of preparation to ensure everything goes smoothly. I have tried out different approaches over the years, from having notes to creating snippets to using an app that holds those snippets. Code snippets make it easier to copy and paste code, but it is still a lot of work to ensure you have all the snippets you need and require a script to follow. For instance, when you need to create a file with a specific name, add code to it, and then run it.
In the last presentation I gave at ESPC, Stephan van Rooij approached me after my session and asked me if I ever tried out CodeTour.
I used it several times with some repositories but never thought about using it for my demos. The extension allows you to have to insert code snippets in your tour.
Last week, I tried it to see how it could help me. The guided experience did not feel suitable for coding demos, as it requires too much clicking, but I could see the value of scripting my demos in such a way. That is how I came up with a new Visual Studio Code Extension called Demo Time.
Demo Time

Demo Time is a Visual Studio Code extension that allows you to script your demos. That way, you only need to script it and run it during your presentations. All you need to do is explain the code you are showing/adding/running.
The focus of the extension is to make all steps possible, from creating files, adding code, highlighting code, etc.
How does it work?
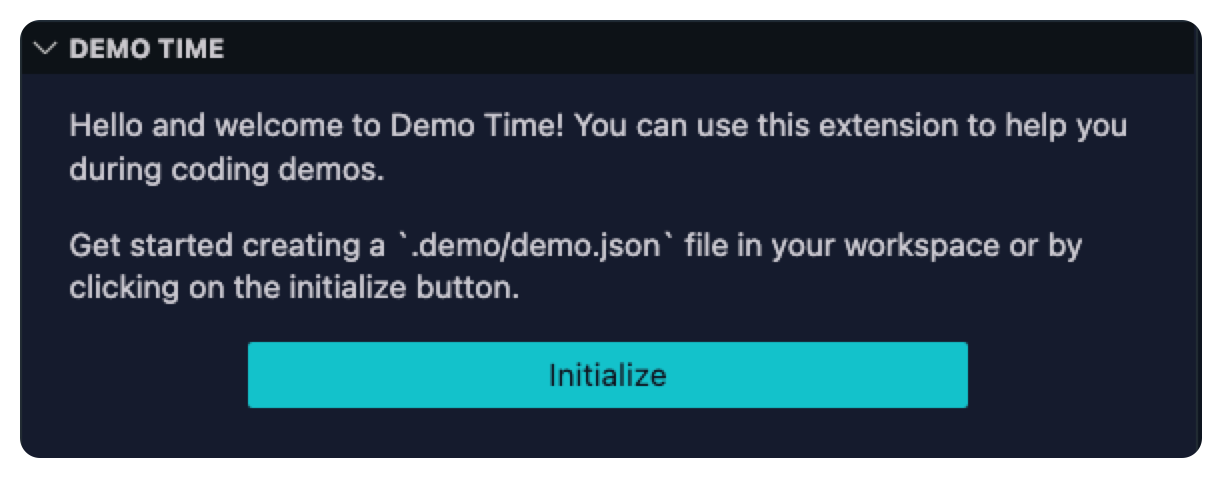
You start by installing the Demo Time extension. Once installed, you can initialize a new demo by clicking the initialize button from the Demo Time panel.
It creates a .demo folder with a demo.json file, but you can rename it or add other JSON files in it if you want.
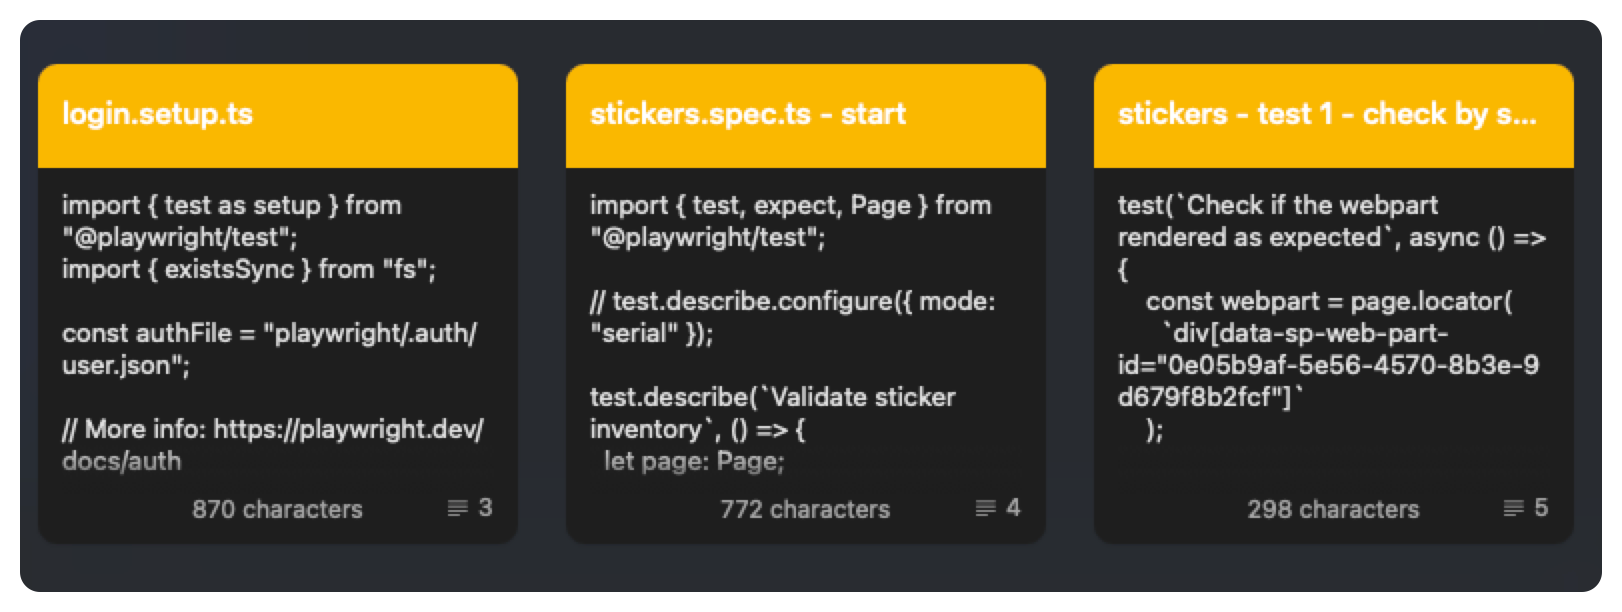
In the demo.json file, you can add your demo steps:
{ "$schema": "https://elio.dev/demo-time.schema.json", "title": "Playwright demo", "description": "Playwright demo for Microsoft 365", "demos": [ { "title": "Login to Microsoft 365", "description": "Login to Microsoft 365 using Playwright", "steps": [{ "action": "create", "path": "/tests/login.setup.ts", "contentPath": "snippets/login.setup.ts" }, { "action": "open", "path": "/tests/login.setup.ts" } ] } ]}The above code sample shows an example where a file must be created and opened. The contentPath is the path to the snippet file. You can also use content to insert inline code, but I figured out that separate code files are easier to maintain.
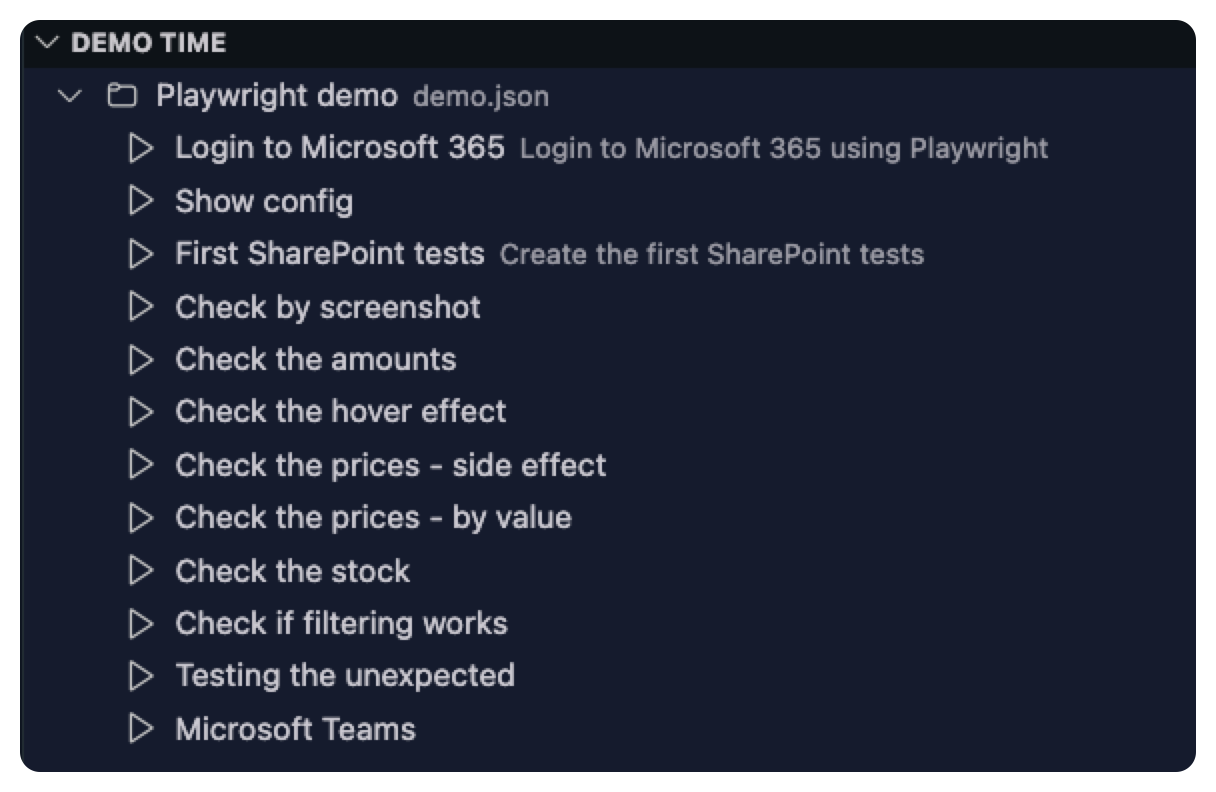
Demo Time panel
Once you have your demo steps, you can start running them. To run it, click the step from the Demo Time panel.
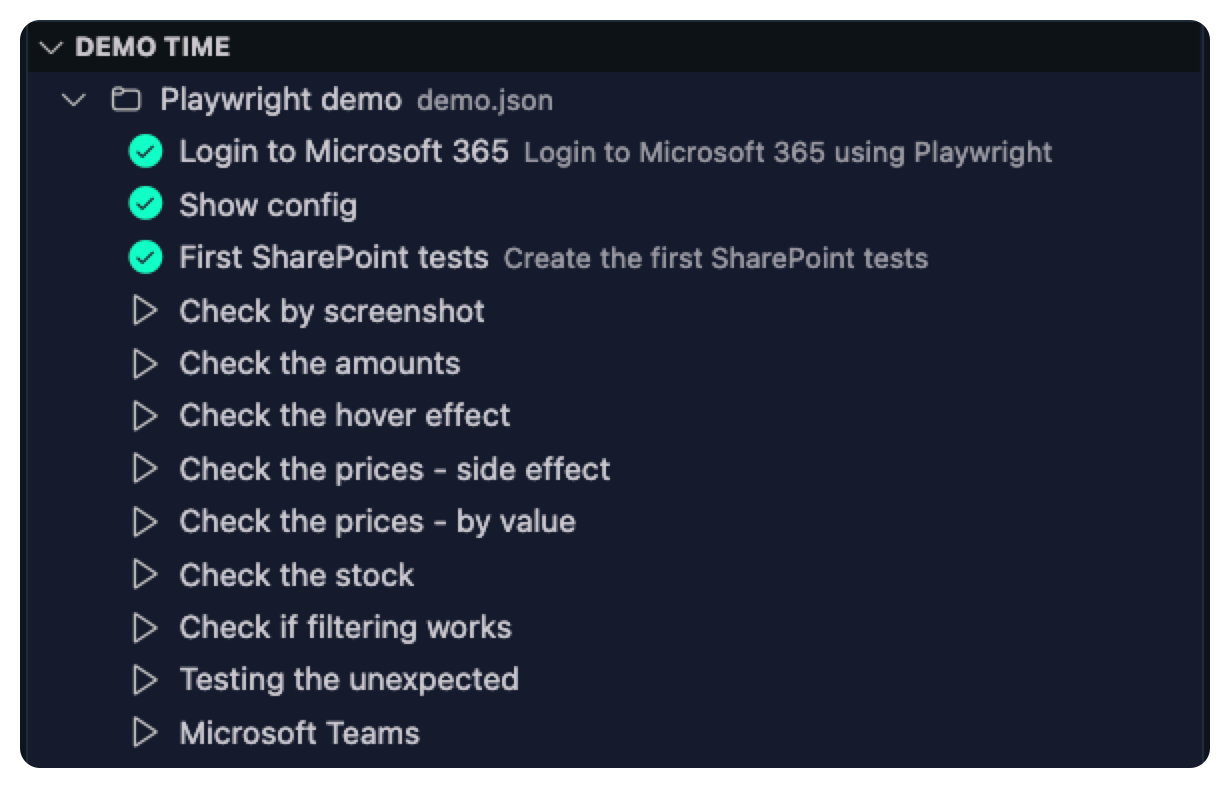
When you run the demo, it will show you the executed steps. You can also see the progress of the demo.
Demo Time - Demo
Here you can see a demo of the extension:
Let me know what you think of it. I am curious to hear your feedback.
Related articles
Use command URI in a VSCode webview to open files and links
In this article, Elio shows how to use command URI to open files and links in a webview from a Visual Studio Code extension.
Using Vite for bundling your Visual Studio Code extension
Learn how you can use Vite to generate a bundle for your Visual Studio Code extension.
Level Up Your Presentations: Slidev & Demo Time in VS Code
Learn how to enhance your presentations and live coding demos with Slidev and the Demo Time extension in Visual Studio Code.
Report issues or make changes on GitHub
Found a typo or issue in this article? Visit the GitHub repository to make changes or submit a bug report.
Comments

Let's build together
Manage content in VS Code
Present from VS Code
Engage with your audience throughout the event lifecycle